A Wall-Mounted Rack for Chisels and Screwdrivers
- Hands on
- 130 min
- Start to finish
- 2.5 hours
- Level
- easy
- Makes
- one 700mm two-rail rack, sized to your own chisels and screwdrivers
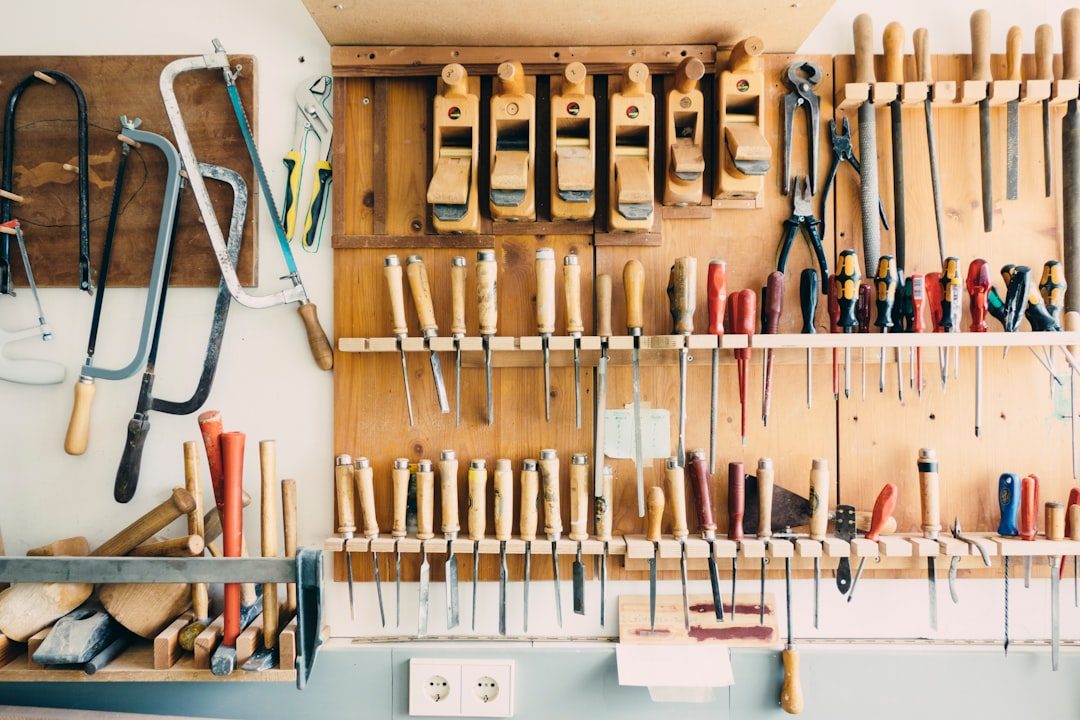
Chisels and screwdrivers thrown in a drawer knock edges against each other and bury the one you need. This rack hangs each tool by its shank through a hole sized to fit, with a second rail below that catches the blade and tips the handle forward for an easy grab. Build it to the tools you actually own rather than a generic set of sizes.
What you need
Step by step
-
Cut the upper rail to 700 x 70 x 20mm and the lower rail to 700 x 45 x 20mm, and square both ends.
10 min -
Mark hole centres along the upper rail every 55mm, staggering them slightly off a dead-straight line so the row does not split along the grain.
10 min -
Measure the shank diameter of each chisel and screwdriver you own and choose a bit to match each hole — do not drill everything to the largest size or the smaller tools will rock loose.
10 min -
Clamp the rail firmly to a bench and drill each hole square through the face, backing it with a scrap board to stop the far face splintering as the bit breaks through.
20 min -
Ease the top and bottom of every hole with sandpaper or a countersink bit so a tool drops in and lifts out without catching.
10 min -
Cut the two spacer blocks to 90 x 70 x 20mm.
5 min -
Find and mark the studs or noggins behind the intended spot, or plan wall plugs if none line up.
10 min -
Fix the two spacer blocks to the wall, one at each end of where the rack will sit, checked level with a spirit level.
15 min -
Screw the upper rail to the front face of the spacer blocks, holes facing forward.
10 min -
Screw the lower rail below it, packed out with a thin offcut at the back so it tips slightly forward and catches the blades rather than standing dead vertical.
15 min -
Hang each tool shank-first through its hole and check the blade rests against the lower rail without touching the wall.
5 min -
Wipe both rails with a coat of oil if you want one, and let it cure fully before loading the rack.
10 min
Afterwards
Vacuum the drilling dust from the holes rather than blowing it out, and brush down the wall fixings before loading tools. If you oil the rails, wipe off the excess and let it cure a full 24 hours before hanging anything — chisel edges will mark a finish that has not gone off. Recheck the wall fixings after a week of use; a full rack of tools puts more sideways load on the screws than it looks.
Questions
What size holes do I need?
Measure the shank of your widest chisel and your widest screwdriver, then drill to those sizes and step down for the rest — a hole cut for the biggest tool lets everything smaller rock and eventually mark the wood.
Can I fix this to plasterboard alone?
Only with the right rated plugs, and only for a light set of tools. Get at least the two end fixings into a stud or noggin if you possibly can; a full rack swinging on plasterboard alone will work its fixings loose.
Will the rails split along the row of holes?
Less likely if you stagger the hole centres slightly rather than drilling them dead in line with the grain, and if you leave at least 15mm of wood between each hole.
Do I need a drill press?
No — a hand drill works fine if the rail is clamped down firmly and you drill square to the face. A drill press just makes it easier to keep the holes vertical.