A Pair of Softwood Sawhorse Trestles
- Hands on
- 270 min
- Start to finish
- 5 hours
- Level
- moderate
- Makes
- a matched pair of sawhorses, 820mm to the rail
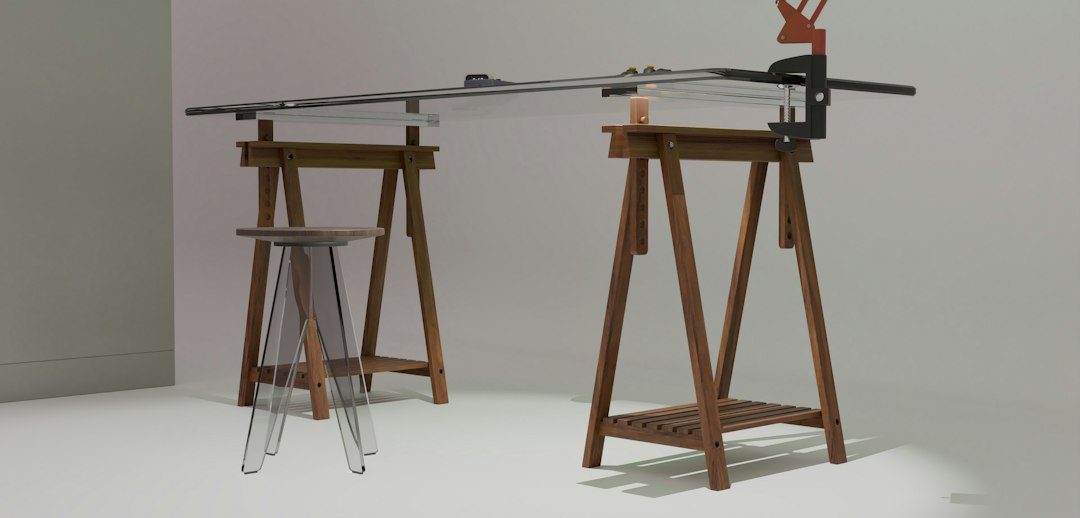
Two matched stands at a fixed height do more work in a small shop than almost anything else: a surface for breaking down sheet goods, support either side of a long board, or a steady base under a plank and some clamps. Built from 2x4 and screwed rather than bolted, a pair takes an afternoon and uses stock most merchants keep in. The legs splay to each side of a single rail rather than crossing through it, which keeps every cut a simple bevel rather than a compound angle.
What you need
Step by step
-
Crosscut the two rails to 900mm, both ends square.
15 min -
Mark a 15-degree splay line on one leg blank with a combination square or sliding bevel, and use it to set the miter saw rather than re-measuring for each leg.
15 min -
Clamp each leg blank to the saw table and bevel-cut the top at 15 degrees, keeping hands well clear of the blade and letting it stop before clearing the offcut.
40 min -
Flip the setting and cut the matching foot angle on each leg so it sits flat on the floor once splayed.
30 min -
Dry-fit two legs against the faces of a rail end, splayed evenly both sides, and mark through for the screw holes.
20 min -
Pre-drill and countersink every screw hole through the legs into the rail — softwood this close to the end splits without it.
20 min -
Glue and screw the legs to both ends of each rail, three screws a leg, checking the horse stands square before the glue grabs.
40 min -
Stand each horse on a flat floor and check it with a level along the rail and down each leg; trim a long foot with the miter saw if it rocks.
20 min -
Have the merchant rip the plywood offcut to a 140mm-wide strip if they haven't already, then crosscut two 850mm shelves from it.
20 min -
Screw cleats cut from leg waste to the inner faces of each horse's legs, then fix a shelf across them — it braces the legs as well as holding offcuts.
25 min -
Ease every edge and corner with a sander so the horses don't splinter a hand under load.
15 min -
Stand the pair side by side and check the rails sit level with each other; pack or trim a foot until they match.
10 min
Afterwards
Vacuum the sawdust rather than sweeping it, since sanding plywood edges throws up fine dust worth masking up for. Let the glue cure a full 24 hours before loading a horse hard, and recheck the screws after the first few uses — racking under load is what works a leg loose. If a horse starts to rock, stand it on a flat floor and trim the long foot rather than packing the short one.
Questions
Why not just buy folding sawhorse brackets?
Brackets let you knock the horses down for storage, but they also rack more than a glued and screwed leg, especially on a tall horse. Fixed legs are more rigid for the same stock, and a sawhorse lives in most garages permanently enough that folding rarely earns its keep.
Can I make the horses taller or shorter?
Yes — 820mm suits most people working standing up with hand tools. Drop it to 750mm for something nearer table height, and keep the same 15-degree splay so the footprint still matches the height.
Do the two horses need to match exactly?
Within a few millimetres. Cut both rails and all eight legs from the same saw setting rather than resetting it partway through, and stand them side by side on a flat floor before you call either one finished.
What stops the shelf racking under weight?
The shelf is a bonus brace, not the main one — the glued and screwed leg-to-rail joints take the racking load. Don't stack more on the shelf than the legs below it could carry standing on their own.