An A-Frame Softwood Picnic Table
- Hands on
- 330 min
- Start to finish
- 6.5 hours
- Level
- moderate
- Makes
- one 1800mm picnic table with two attached benches, seating six
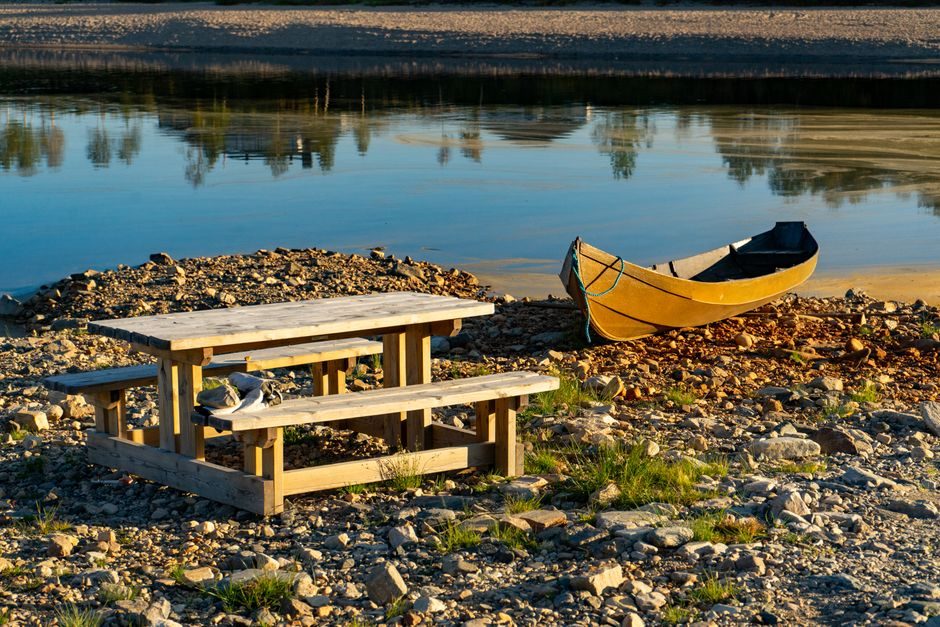
This is the crossed-leg picnic table you see outside pubs and campsites: two A-frames carrying a plank top and a pair of cantilevered benches, held together with carriage bolts rather than housed joints. Bolting instead of gluing means a beginner's angle does not have to be perfect, and the whole table comes apart into four flat pieces if you ever need to move it through a gate or replace a board later. It is built entirely from standard structural softwood sizes, with no sheet good and no hardware beyond the bolts and screws.
What you need
Step by step
-
Cut all parts to length from the cut list first, marking the waste end of each leg blank so you don't lose track of which end takes the compound angle.
30 min -
Set the mitre saw to the leg angle (20 degrees from vertical works well) and cut both ends of the four leg blanks, clamping each leg to the fence rather than holding it freehand against the narrow offcut side.
40 min -
Lay two legs in an X with the pivot marks aligned, clamp them together, and drill through both for the M8 pivot bolt. Fit the bolt and washers but leave the nut just loose enough to pivot.
30 min -
Repeat to build the second A-frame, then fix a lower cross brace between the two legs of each frame, about 200mm off the ground, to stop the X from racking.
30 min -
Screw a top cleat across the apex of each A-frame, then stand both frames upright and fix the centre stretcher between the two cleats, checking the frames are parallel and square before tightening anything fully.
35 min -
Tighten both pivot bolts now the frame is square — nip up, not wrenched down hard, so the joint stays snug rather than crushing the timber.
15 min -
Lay the tabletop boards across the cleats with a consistent gap between each (a spare offcut makes a good spacer) and screw down into the cleats, pre-drilling and countersinking near the ends to stop the screws splitting the grain.
45 min -
Bolt a bench support arm to the outside face of each leg at seat height (430mm off the ground is comfortable), levelling all four before tightening the nuts.
30 min -
Screw the seat boards to the support arms on each side, again leaving a drainage gap between the pair.
30 min -
Ease every edge and corner with a sander so nobody gets a splinter off the seats, then brush off all the dust before finishing.
25 min -
Apply exterior wood oil or preservative to every face, including the underside and end grain, and let it cure fully before leaving the table out.
20 min
Afterwards
Vacuum the mitre saw's angle cuts before sweeping — softwood dust collects in the saw's guard after repeated bevel cuts. Brush sawdust out of the joints before finishing, and leave the oil or preservative the full time stated on the can, usually a full dry day, before leaving the table out in rain. Check the two pivot bolts and four bench bolts for tightness after the first few weeks as the timber dries and settles, and again each spring.
Questions
Can I use pressure-treated timber instead of planed softwood?
Yes, and outdoors it is the better choice — treated timber resists rot without annual repainting, though it needs a full season to dry out before you put an oil or stain over it.
Why bolts instead of screws for the leg joints?
The pivot point where the legs cross carries the whole table's racking load every time someone sits down or stands up. A bolt clamps both legs together under constant pressure; screws alone would work loose there within a season.
How do I stop the tabletop boards cupping?
Lay each board with the bark side up — check the arc of the end grain — and leave a consistent gap between boards for drainage and movement. A 10mm offcut makes a good spacer while you screw them down.
Will this fit through a standard garden gate assembled?
Not at 1800mm long, most likely. Because the joints are bolted rather than glued, you can carry the two A-frames and the tabletop through separately and reassemble on site.