A Softwood Potting Bench with a Tool Rail
- Hands on
- 280 min
- Start to finish
- 24 hours
- Level
- moderate
- Makes
- one potting bench, 1200 x 500mm, with a 900mm worktop and a tool rail above
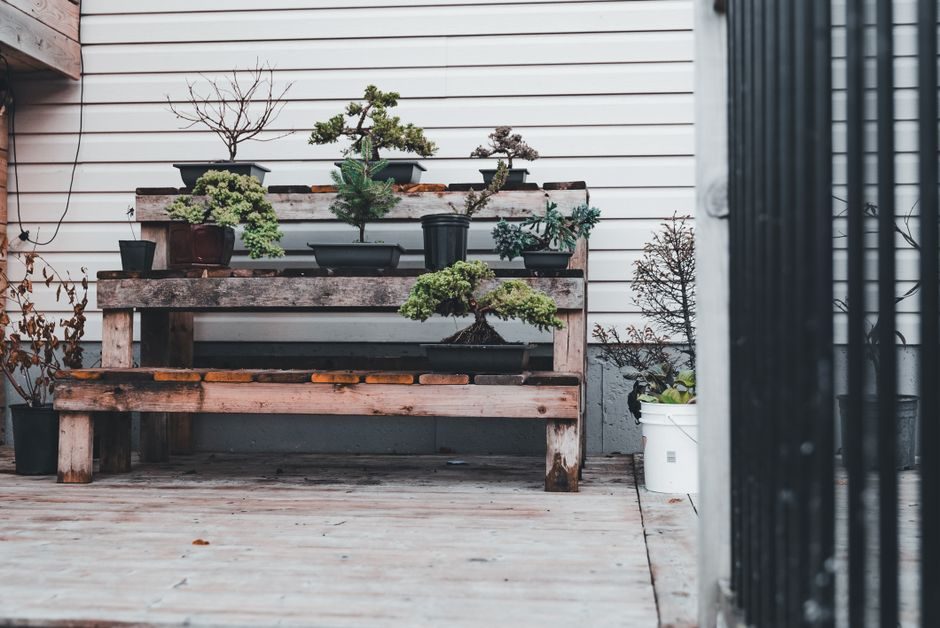
This is a dedicated surface for potting up and pricking out: a slatted top at a comfortable working height, a lower shelf for compost bags and trays, and a backboard with a rail for the trowels and twine you reach for most. It is built from common softwood and one sheet of exterior plywood, with no joint more complex than a screwed butt joint.
What you need
Step by step
-
Cut the four legs from the 45 x 70mm stock: two front legs at 900mm and two back legs at 1500mm.
20 min -
Cut the rails: four at 1100mm and four at 410mm, for the top frame and the lower shelf frame.
20 min -
Cut the hook batten to 1200mm from the same stock.
5 min -
Predrill and countersink a pilot hole at each rail end, so the screws don't split the end grain going into the legs.
15 min -
Screw the top frame together between the four legs, 900mm up from the floor, using the 1100mm rails at the front and back and the 410mm rails at the sides. Check it square and level.
30 min -
Screw the lower frame together the same way, about 150mm up from the floor.
25 min -
Cut five worktop slats to 1200mm from the 95 x 20mm stock.
10 min -
Screw the slats across the top frame and the leg tops, spacing them for a roughly 6mm gap between each so compost and water drain through.
30 min -
Break down the plywood sheet with a circular saw and a clamped straightedge: one piece at 1100 x 410mm for the lower shelf, one at 1200 x 450mm for the backboard.
35 min -
Drop the lower shelf onto the lower frame and screw it down from above into the rails.
15 min -
Screw the backboard to the outside faces of the two back legs, its lower edge level with the worktop.
20 min -
Screw the hook batten across the front faces of the back legs, directly above the backboard.
15 min -
Drive in the cup hooks along the batten, spaced for the tools you use most.
10 min -
Sand any rough edges and apply two coats of exterior wood stain or oil, following the recoat time on the can.
30 min
Afterwards
Vacuum the sawdust rather than sweeping it, and wipe the bench down before the first coat of finish. Let the exterior stain or oil cure for the time stated on the can, usually overnight, before loading pots or bags of compost onto the shelf. Once outside, check the backboard and shelf screws each spring, and re-oil the worktop yearly where water sits and dulls the finish.
Questions
Can I use cedar instead of PAR softwood?
Yes, and it needs no finish to resist rot, though it costs more. The dimensions and cut list stay the same either way.
Will it stand up to being left outside all year?
With a maintained exterior finish, yes. Keep the feet off wet soil or grass — stand it on paving or gravel, or add screw-in feet, so the end grain isn't sitting in standing water.
Is the lower shelf strong enough for bags of compost?
A bag or two is fine on 18mm ply over two rails. For more, add a centre support rail running front to back under the shelf.
Do I need to glue the joints as well as screw them?
No. Screws alone hold this fine outdoors, and leaving out the glue means a split rail can be replaced later without taking the whole bench apart.