A Slatted Softwood Porch Swing
- Hands on
- 410 min
- Start to finish
- 24 hours
- Level
- moderate
- Makes
- one 1150mm two-seat porch swing
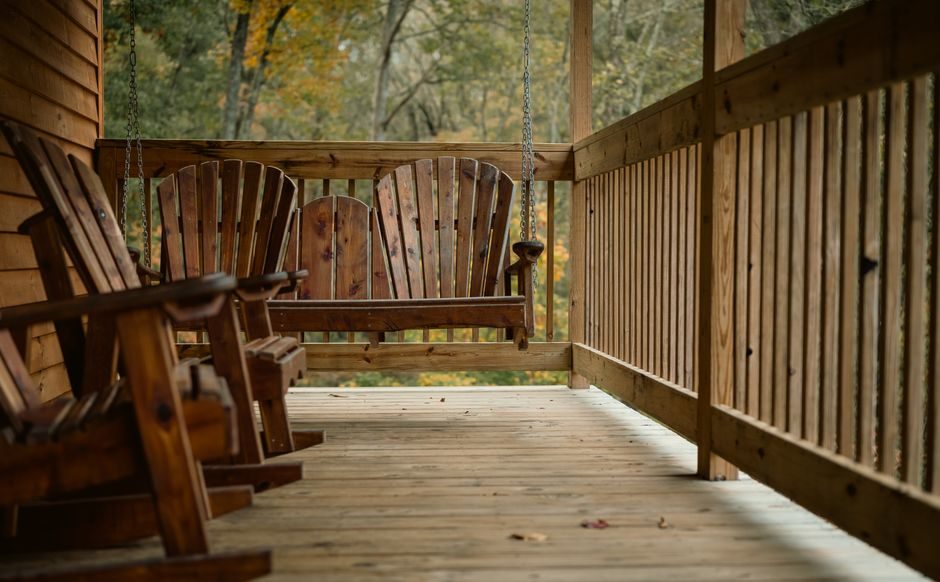
A porch swing is two slatted frames — a seat and a back — set at a fixed rake and hung on chains from the structure above. The woodworking is no harder than a garden bench; what decides whether it is safe is entirely in the hang: finding real joists, pre-drilling so the frame cannot split under a swinging load, and using hardware rated well past anything two people sitting down will put on it. Build the seat and back separately, join them at the angle, finish before you hang anything, and fix the hardware last.
What you need
Step by step
-
Cut the ten slats to 1150mm, the four side rails and stiles to 500mm, and the two arms to 550mm, crosscutting square on the mitre saw.
40 min -
Mark two 250mm triangular gussets on the plywood offcut, angled for a comfortable rake — about 10 degrees back from vertical — and cut them on the mitre saw against a stop block; they are too small to cut freehand safely.
25 min -
Ease all the sawn edges and sand every face smooth before assembly. It is far easier now than once the frame is together.
30 min -
Lay the two seat side rails parallel, 500mm apart, and screw five slats across them with about 7mm gaps, each slat overhanging the rails slightly at both ends.
40 min -
Build the back frame the same way: the two stiles 500mm apart, the remaining five slats screwed across with matching gaps.
40 min -
Stand the back frame off the rear edge of the seat frame at the marked rake angle, and screw a gusset to the inside face of each side joint to lock the angle.
35 min -
Fit an arm along the outside of each seat rail and back stile, screwing through both so the arm gives a second load path alongside the gusset.
30 min -
Mark the eye-bolt position on each arm at the front and each back stile at the top rear, then pre-drill every hole to the bolt's shank diameter — an undersized hole can split the timber once it is under load.
25 min -
Fit the four eye bolts from the hanging kit through the pre-drilled holes, with a washer and nut on the inside face of each.
20 min -
Give the whole swing a final sand, wipe off the dust, and apply two coats of exterior wood stain or oil, following the can's recoat and cure times.
30 min -
In the porch ceiling, find and mark the joists above where the swing will hang, confirming each with a small pilot hole rather than guessing from the ceiling boards alone.
25 min -
Fix the hanging kit's ceiling eye bolts into the centre of each joist, spaced to match the swing's own fixing points.
25 min -
Hook a length of chain to each corner and to its ceiling eye bolt, trim each to the same length with the quick-links, and check the seat hangs level and square.
30 min -
Before anyone sits down, lean your full weight on the seat and check all four fixings and both gussets under load.
15 min
Afterwards
Re-check all four fixings and the chain ends after the first week of use, then every season — timber settles and chain links wear. Let the finish cure fully, per the can, before loading the seat. Wipe the slats dry after rain so water doesn't sit in the gaps between them.
Questions
How do I know I've found a joist and not just a furring strip?
Use a stud/joist finder, then confirm with a small pilot hole in an inconspicuous spot. A real joist runs the full depth of the ceiling cavity; the bit will pass through solid wood rather than stopping after a thin board.
Can I hang it from a free-standing frame instead of a porch ceiling?
Not with this plan. A free-standing A-frame carries the load differently and needs its own sizing. This build assumes fixing straight into porch ceiling joists.
What chain length do I need?
It depends on your ceiling height and how low you want the seat — aim for the seat roughly 450mm off the deck. Buy chain a little long and remove links with the quick-link to trim it, rather than guessing short.
Is the plywood gusset enough to hold the angle on its own?
Use both the gusset and the arm. The gusset sets the angle; the arm gives a second load path so the joint doesn't rely on one set of screws alone.