A Cedar Window Box Planter on Mounting Brackets
- Hands on
- 195 min
- Start to finish
- 27.3 hours
- Level
- moderate
- Makes
- one 900mm cedar window box, ready to mount and plant
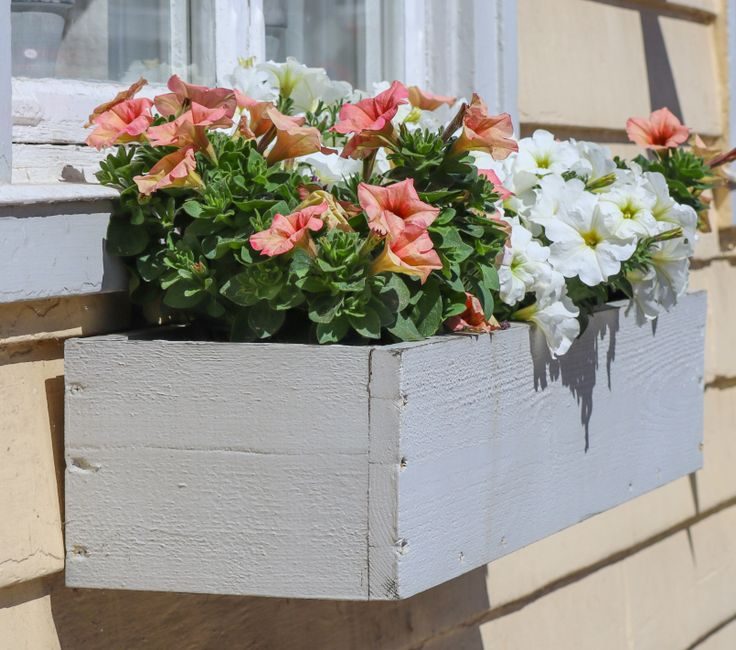
A window box is a simple carcass — four sides and a base — but two things separate one that lasts from one that doesn't: drainage that actually clears water, and brackets fixed into something solid enough to carry it full and wet. This one is sized for a typical window, cut from a single length of cedar board, and hung on brackets rated for its filled weight rather than screwed straight into render.
What you need
Step by step
-
Cut the front and back panels to 900 x 184mm from the cedar board.
15 min -
Cut the two end panels to 146 x 184mm, bracing each short piece against a stop block or clamp on the mitre saw rather than holding it freehand near the blade.
15 min -
Cut the base panel to 900 x 184mm, the same size as the front and back.
10 min -
Mark and drill eight to ten 10mm drainage holes through the base panel, spaced evenly, clamping it to the bench so the spade bit can't catch and spin it.
15 min -
Pilot-drill the end panels near their edges to stop the thin cedar splitting, then glue and screw the front panel to both end panels, keeping the outside faces flush.
20 min -
Glue and screw the back panel onto the same two end panels, forming the four-sided carcass, and check it's square by measuring the diagonals.
20 min -
Pilot-drill around the perimeter of the base panel, then glue and screw it up into the bottom edges of the front, back and end panels, flush all round.
20 min -
Sand all edges and the inside corners smooth, easing anything sharp enough to catch a hand.
15 min -
Apply exterior oil or stain if you're using one, following the tin for coats and recoat times, or leave the cedar bare to weather.
15 min -
Mark bracket positions on the wall below the window, spaced evenly, locating solid framing or masonry rather than render or thin cladding alone.
15 min -
Fix the brackets with the 75mm screws, or masonry screws and wall plugs into brick.
15 min -
Lift the box onto the brackets and secure it through the brackets' fixing holes into the underside.
10 min -
Line the base with the fabric strip if you're using one, then fill with compost once any finish has fully cured.
10 min
Afterwards
Vacuum sawdust from inside the box before planting — trapped dust holds moisture against the wood. If you've oiled or stained the cedar, leave it to cure fully per the tin, typically 24 to 48 hours, before filling with wet compost. Check the bracket screws again after the first couple of waterings; planted compost is heavier than it looks, and new fixings can settle slightly as the timber beds in.
Questions
Can I use pine instead of cedar?
Yes, but pine rots outdoors without a finish, where cedar resists rot untreated. If you use pine, prime and paint or oil it fully, including the end grain, and expect to recoat it more often.
Will the brackets really hold it?
A 900 x 184 x 184mm box holds around 25 litres of compost, which at roughly 1.2kg a litre fully wet comes to 25-30kg once planted. Choose brackets rated well above that between them, and fix into solid framing or masonry rather than render or thin cladding alone.
Do I need to line the box?
A strip of landscape fabric over the drainage holes stops compost washing out without blocking the water. It's worth doing, not strictly required.
When's the best time to build and plant it?
Build and fix it any time of year — it's the planting that's seasonal. Built now, it's ready for spring bulbs for an early show, or for bedding plants once the frosts have passed.