A Slatted Timber Compost Bin
- Hands on
- 250 min
- Level
- moderate
- Makes
- one single-bay compost bin, roughly 900mm cube
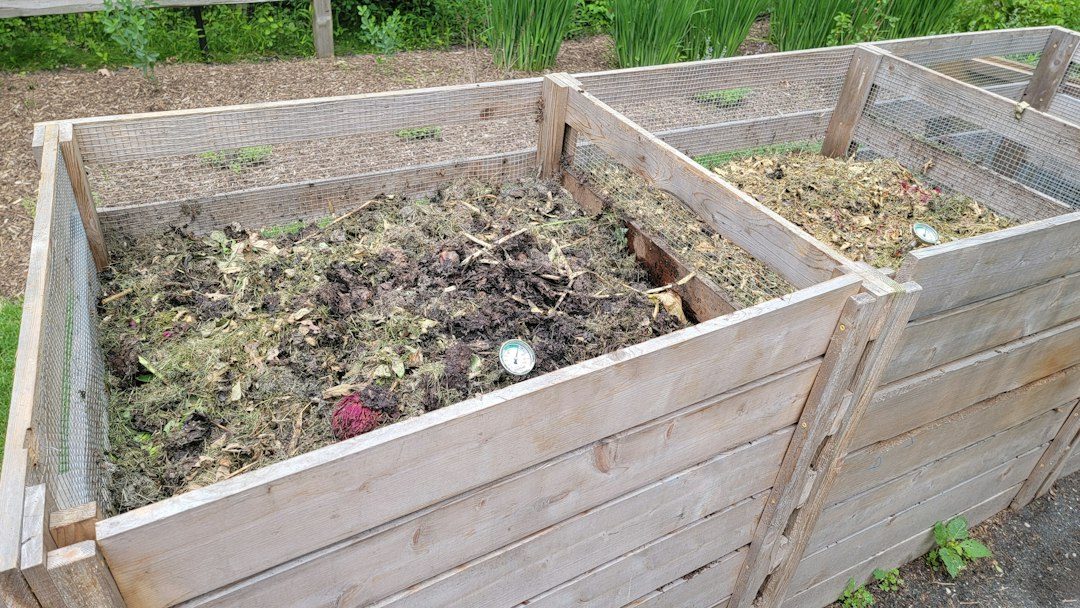
Sized close to a cubic metre, which is roughly the volume compost needs to hold its own heat and break down at a useful rate. Three sides are fixed slatted boards for airflow. The front is loose slats that drop into a channel formed by battens on the two front posts, so the whole face lifts out when you need to fork the pile over or empty it.
What you need
Step by step
-
Cut the two 2400mm posts into four 900mm corner posts on the mitre saw, squaring the first end of each length before measuring the second.
15 min -
Cut the eight 3600mm deck boards: six into 900mm lengths for the 24 back and side boards, and two into 810mm lengths for the 8 front slats. A hand saw and mitre box work just as well here since these are utility cuts, not fine joinery — clamp a stop block for the repeats either way rather than remeasuring each piece.
45 min -
Cut the 3600mm batten into four 900mm guide battens.
10 min -
Lay two posts flat with their outer faces 900mm apart and check the layout square with the combination square before fixing anything. This outer-face spacing is what makes the 900mm boards and 810mm front slats fit later.
10 min -
Screw the eight back boards to those two posts working from the bottom up, using a 15mm-thick offcut as a spacer between boards for even gaps. Pre-drill and countersink near the ends of each board so the thin stock does not split.
60 min -
Stand the back panel up. Screw one side's eight boards between a fresh corner post and the back-left post, then repeat on the right using the fourth post and the back-right post, giving a three-sided box open at the front.
60 min -
Screw two guide battens to the inside face of each front post, spaced a board's thickness plus a couple of millimetres apart, so the front slats can slide down between them and lift out again.
30 min -
Move the bin to its final position — level ground with direct soil contact — and check it sits without rocking. Pack an offcut under the low corner rather than digging the posts in; the bin does not need burying to stay put.
15 min -
Slide the eight front slats down into the guide channels from the top, bottom slat first.
5 min
Afterwards
Brush treated-timber dust and offcuts into a bag for disposal rather than onto the compost or a bonfire — the preservative should not go on the pile or in the air. Let the frame stand for a day before loading it, and check the screws at the guide battens after the first damp month, since swelling can work them loose.
Questions
Does it need a solid base?
No. Leave it open to the soil for drainage and so worms can get in. On a hard patio, add a layer of straw or twigs first instead of a solid floor.
Do the gaps between boards need to be exactly 15mm?
No, but keep them close to it. Tighter and airflow suffers, so the pile can turn anaerobic and smell; wider and it dries out, and loose material can fall through before it settles.
Is tanalised timber safe to use here?
Modern preservative treatment is fine for a structure like this, since it is not in the direct food contact that a raised bed's soil is. If you would rather not use it, build in untreated softwood and expect it to last years rather than over a decade.
What if the ground is not level?
Pack a paving offcut or compacted gravel under the low corner rather than digging the posts in. The weight of the compost settles the bin; it does not need burying.
Can I build it bigger?
You can, but stay close to a cubic metre. Much bigger and turning the pile by hand gets awkward; much smaller and it will not hold enough heat to break down properly.