A Cedar Garden Side Table
- Hands on
- 175 min
- Start to finish
- 3.9 hours
- Level
- moderate
- Makes
- one 400mm square cedar side table, about 420mm tall
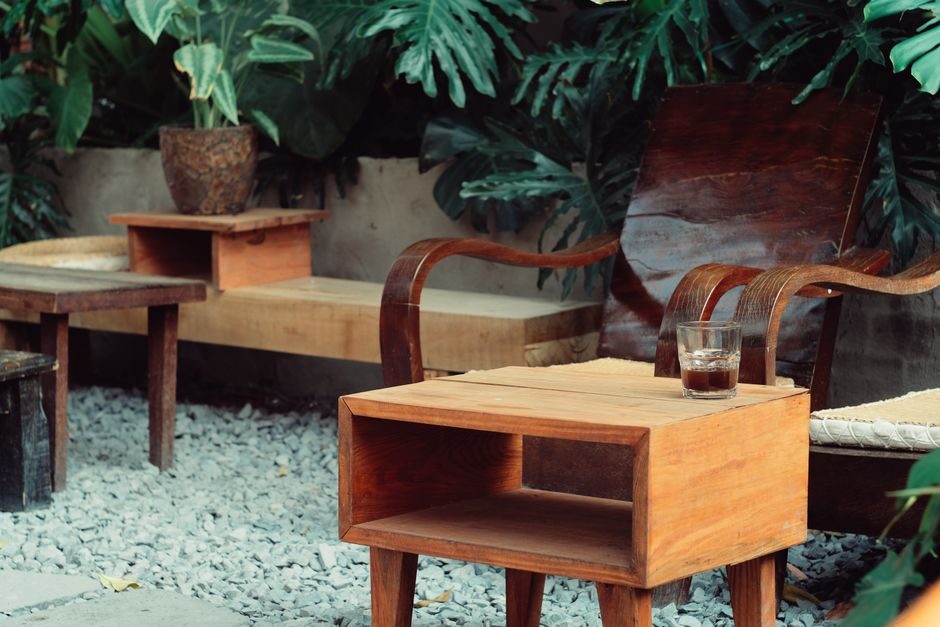
This is built the way a deck rail is built: square legs, a screwed-and-glued apron, and slats laid across the top with a gap between each one so rain runs straight through rather than sitting on the wood. A second, lower set of slats turns the space under the top into a shelf for a plant pot or a drink. Every part comes from cedar sizes a merchant stocks as standard, and nothing needs to be ripped down to width.
What you need
Step by step
-
Cut the four legs to 420mm, squaring each end on the miter saw.
15 min -
Cut four apron rails to 310mm from the 70 x 20mm board — that's the 400mm top size minus the two 45mm leg faces it sits between.
10 min -
Drill and countersink two pilot holes through the face of each apron rail, positioned to land in the centre of a leg.
15 min -
Glue and screw the apron rails to the legs with the 60mm screws, checking each corner with a combination square as you go.
25 min -
Set the frame aside, clamped if it needs it, and let the glue cure before loading it further.
60 min -
Cut two shelf cleats to 310mm from the 20 x 20mm batten.
10 min -
Screw a cleat to the inside face of each of the two legs on opposite sides of the frame, 100mm up from the ground.
10 min -
Cut five top slats to 400mm from the 70 x 20mm board.
10 min -
Lay the top slats across the apron with a consistent gap between each one — an offcut of scrap makes a reliable spacer — then drill, countersink and screw each one down with the 40mm screws.
20 min -
Cut four shelf slats to 310mm from the 70 x 20mm board.
10 min -
Space and fix the shelf slats to the cleats the same way as the top.
15 min -
Ease every edge and corner with sandpaper, then sand the whole table through the grits.
20 min -
Apply the exterior finish in thin coats, following the time between coats on the tin.
15 min
Afterwards
Vacuum the cedar dust rather than sweeping it, and wipe the table down before finishing. Let the exterior oil or varnish cure fully — usually 24 to 48 hours per coat, check the tin — before standing anything on the shelf or leaving a hot mug on the top. Re-oil once a year if it lives outside, and check the screws at the apron-to-leg joints each spring; cedar moves a little with the seasons and they can work loose.
Questions
Can I build this from pine instead of cedar?
Yes, but pine needs a film-forming exterior finish such as paint or a dedicated outdoor varnish to survive outside, and a covered spot helps it last. Cedar's natural oils cope with damp with far less maintenance.
How much weight will the lower shelf take?
Enough for a few plant pots or a stack of books. It's slats resting on cleats, not a structural shelf, so don't stand on it or stack firewood on it.
Why leave gaps between the slats?
So rain drains straight through instead of pooling and cupping the boards. Keep the gaps consistent with a spacer while you fix each slat down.
Can I make it taller, for use beside a chair?
Yes — add the extra height to the legs only, and keep the apron and the shelf cleats in the same proportion so the shelf still sits a comfortable reach above the ground.