A Slatted Softwood Garden Bench
- Hands on
- 280 min
- Start to finish
- 6 hours
- Level
- moderate
- Makes
- one two-seat garden bench, roughly 1000 x 400mm and 850mm to the top of the back
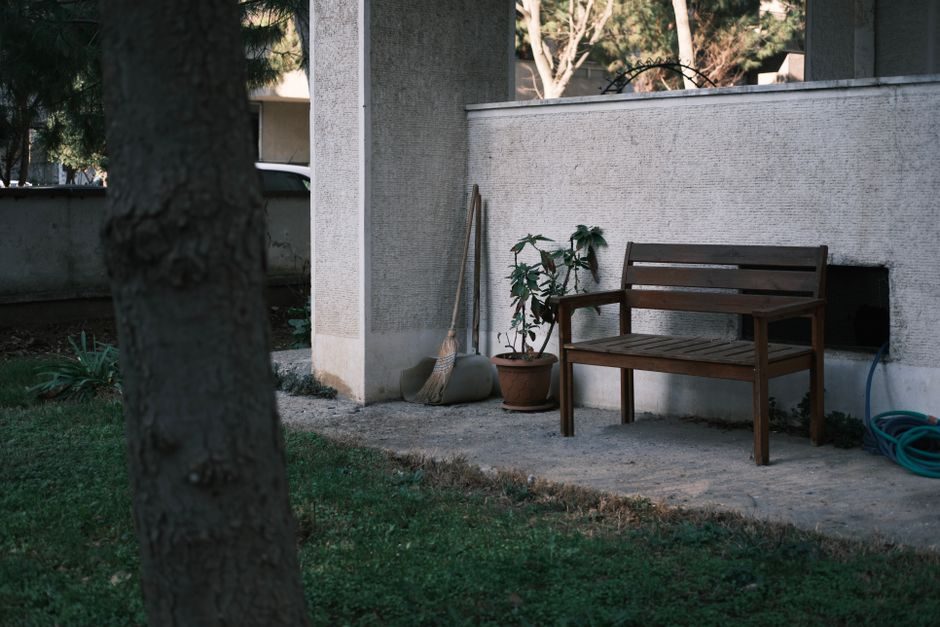
This bench keeps the joinery simple: four legs, a rectangular seat frame, and slats screwed across the top and the back. The two back legs run continuous from the ground to the top rail, so there is no separate joint for someone leaning back to work loose. Everything comes from a merchant's softwood section, and none of the cuts need more than a miter saw set square and a stop block for repeats.
What you need
Step by step
-
Cut the four legs from the 44 x 44mm post: two front legs at 450mm and two back legs at 850mm, marking each with a combination square before cutting square on the miter saw.
20 min -
Cut the frame rails from the 100 x 25mm stock: two long rails at 912mm for the front and back of the seat, two short rails at 312mm for the sides, and one long rail at 912mm for the top of the backrest.
20 min -
Cut the slats from the 90 x 20mm board: ten at 400mm for the seat and four at 1000mm for the backrest.
25 min -
Stand a front leg and a back leg on edge and glue and screw a 312mm side rail between them, its top edge 450mm up from the foot and level with the top of the front leg. Repeat for the other side.
30 min -
Join the two leg assemblies by gluing and screwing the two 912mm long rails across the front and back, level with the top of the front legs, checking the frame is square by measuring both diagonals before the glue sets.
30 min -
Screw the top back rail across the two back legs, its top edge flush with the top of the legs, and check it sits parallel to the seat rail below.
15 min -
Pre-drill and countersink every slat near its ends before fixing anything — the stock is narrow enough to split if a screw goes in without a pilot hole.
15 min -
Lay the ten seat slats across the seat frame running front to back, working from one side and packing an 11mm spacer — an offcut of scrap works — between each before screwing it down into the long rails.
40 min -
Fix the four backrest slats to the front faces of the two back legs, working up from the seat rail with the same spacing, finishing flush with the top back rail.
30 min -
Sand every edge and the slat tops with a random orbit sander through the grits, breaking every sharp corner — this is what stops a splinter under bare legs.
25 min -
Set the bench on a level surface and check it doesn't rock; pack or plane a foot if one corner sits proud.
10 min -
Apply the first coat of exterior wood oil or exterior paint system, following the aftercare for cure time before a second coat.
20 min
Afterwards
Vacuum sawdust out of the slat gaps rather than brushing it, since it packs in and holds moisture. Let glue cure fully — check the tub, usually a few hours — before moving the bench, and leave each coat of finish its full drying time on the tin before recoating or sitting on it. Re-oil or repaint annually, and check the screws are still tight each spring before the first sit of the season.
Questions
Do the legs need to be pressure-treated?
It helps, since they're the parts nearest the ground, but planed softwood finished well and kept off wet paving will last several seasons. Pressure-treated stock is worth the small extra cost if you can get it in this section size.
Can I skip the backrest and just build the seat?
Yes — stop after the seat frame and slats and you have a simple backless bench. Cut the back legs to 450mm to match the front instead of leaving them long.
How much weight will it take?
Comfortably two adults seated normally. Don't stand on the seat — that concentrates load the rail joints aren't sized for, in a way sitting doesn't.
Why glue as well as screw the frame?
Screws alone can work loose as the timber moves with the weather. Glue keyed into the joint stops that movement turning into a wobble over a season or two.