A Post-Mounted Bird Table
- Hands on
- 290 min
- Start to finish
- 10 hours
- Level
- moderate
- Makes
- one bird table, platform 400mm square, standing about 1.2m off the ground
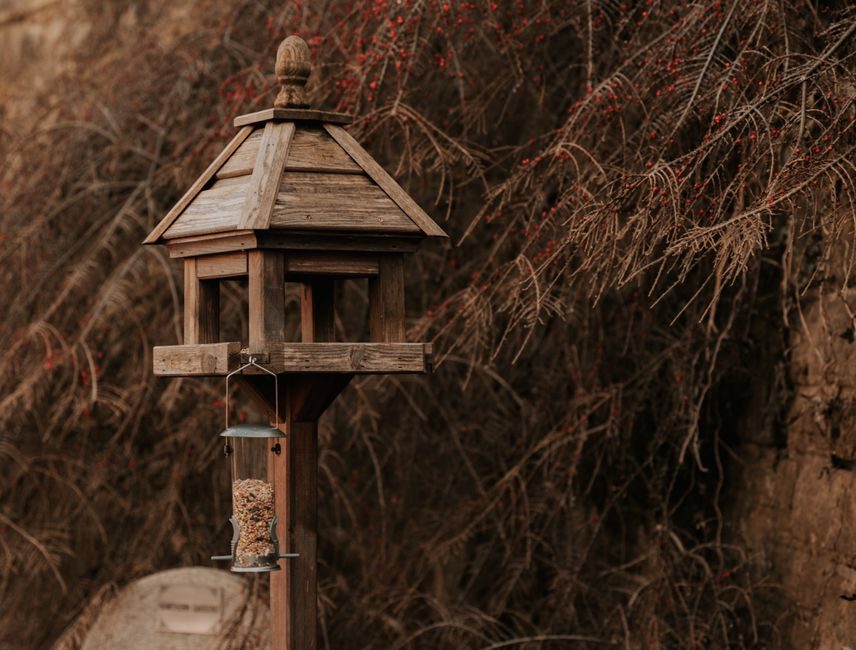
A bird table is a platform, a roof to keep the worst of the weather off the feed, and a post to lift it clear of cats and rats. This one uses a small sheet of plywood for the platform and roof, a length of batten for the rim and ridge, and a single post set on a driven spike rather than dug into concrete. The open front on the rim isn't an oversight — it's how you sweep spent feed off without tipping the whole table.
What you need
Step by step
-
Cut the platform to 400 x 400mm from the plywood, and mark the centre of the underside for the post cleat.
20 min -
Cut the rim battens from the 20 x 20mm stock: one back piece at 400mm and two side pieces at 380mm. Drill and countersink pilot holes near the ends before fixing, so the batten doesn't split.
20 min -
Glue and screw the rim to the top face of the platform along the back and both sides, leaving the front open so spent feed can be swept straight off. Drill four 8mm drainage holes near the corners of the platform.
25 min -
Mark out and cut the two gable braces from the plywood offcut: a 400mm base narrowing to a peak 220mm above it.
25 min -
Stand a gable brace upright at the front edge of the platform and one at the back, square to the base, and fix each with glue and three screws driven up through the underside.
25 min -
Cut the ridge batten to 400mm and screw it between the two peaks, checking the whole frame is square before the glue sets.
15 min -
Rip the roof panels to roughly 460 x 280mm from the remaining plywood on the circular saw, guided by a clamped straightedge.
25 min -
Offer each roof panel up to the ridge in turn, mark where it overhangs the peak, and trim the top edge for a close fit along the ridge batten.
30 min -
Glue and screw the roof panels to the ridge batten and both gable braces, keeping the overhang even at the eaves.
25 min -
Cut a 100 x 100mm cleat block from the plywood offcut, drill or notch its centre to house the top of the post, then glue and screw it under the centre of the platform.
25 min -
Glue and screw the post up into the cleat and through the platform, then drive the fence-post spike into the ground where the table will stand, checking it's plumb with a level as you go.
30 min -
Fit the post into the spike's socket and secure it, then apply two coats of exterior stain or oil to the whole table, leaving each coat to dry fully before the next.
25 min
Afterwards
Sweep old seed and husks off the platform weekly — wet, mouldy feed makes birds sick faster than an empty table does. Let each coat of stain or oil cure fully before the next and before the table takes any weight. Check the post is still plumb and the fixings are tight each spring, and wear a dust mask when cutting or sanding the plywood.
Questions
Why leave the front of the rim open?
So spent husks and wet feed can be swept straight off rather than collecting in a corner, which is what actually goes mouldy.
Does the post need to go in concrete?
Not for a bird table. A driven fence-post spike carries this load without digging, and it comes out again if you move the table later.
What finish should I use?
An exterior wood stain or oil rather than paint, so it can be recoated without scraping and nothing flakes off into the feed.
How do I get the roof panels to meet neatly at the ridge?
Cut them oversize, offer each one up in turn, and trim the top edge to the gap rather than trying to calculate the angle up front.