A Plywood Slab Desk on Trestle Legs
- Hands on
- 345 min
- Start to finish
- 36 hours
- Level
- moderate
- Makes
- one 1200 x 600mm desk, about 720mm tall
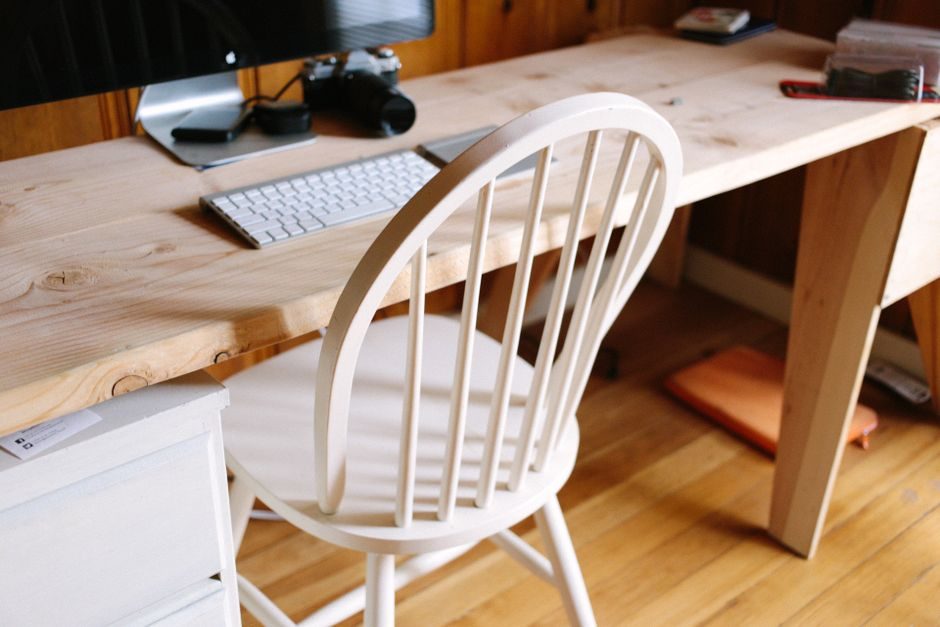
A flat plywood top on two trestle legs, tied together with one stretcher so it doesn't rack when you lean on it while typing. The top is a sheet of birch plywood with solid pine lipping glued around the edge to hide the ply and take the knocks, and the whole base is cut from 2x4 softwood — no mortises, no dowels, just screws into corner blocks.
What you need
Step by step
-
Cut the plywood top down to 1160 x 580mm with a circular saw and a straightedge guide, supporting the sheet across trestles so the offcut can't sag and bind the blade.
45 min -
On the miter saw, cut the pine lipping to length: two strips at 1200mm and two at 600mm, each mitred 45 degrees at both ends.
30 min -
Glue and clamp the lipping around the plywood edges with the mitred corners tight, and leave it clamped for at least four hours.
20 min -
Once the glue has cured, scrape off the squeeze-out and sand the lipping level with the plywood faces.
20 min -
Crosscut four uprights to 700mm and four end rails to 500mm from the 2x4 stock, checking each pair for equal length against a combination square.
25 min -
Crosscut the long stretcher to 1100mm, then cut four corner blocks roughly 70 x 70mm from the 2x4 offcuts.
15 min -
Glue and screw one end rail across the top of each pair of uprights, flush with the top ends, pre-drilling so the rail doesn't split, to form two H-shaped leg frames.
35 min -
Screw a corner block to the inside face of each upright, 100mm up from the floor, to carry the stretcher.
20 min -
Stand the two leg frames up parallel, 1100mm apart centre to centre, and screw the stretcher ends to the corner blocks, checking the frames stand square and don't rock.
30 min -
Sand the whole base through to 180 grit, easing every sharp edge and corner.
25 min -
Stand the base on the underside of the top, centred so it overhangs each top rail by 150mm, and clamp it in place.
15 min -
Drill clearance and pilot holes up through each top rail into the underside of the top, keeping to the centre of the rail's thickness, then drive the screws home.
25 min -
Sand the top surface through to 180 grit and ease the top edges of the lipping.
20 min -
Apply the finish, following the manufacturer's recoat and cure times between coats.
20 min
Afterwards
Birch plywood dust carries fine hardwood particles as well as resin from the glue lines — vacuum it up rather than sweeping, and wear a dust mask while cutting and sanding. Let the glued lipping cure for at least four hours before machining it, and leave the final finish coat to cure fully, following the can's cure time, before resting a monitor on the top or leaning on it, since a soft finish will dent or print under weight.
Questions
Can I use solid wood for the top instead of plywood?
Yes, if you edge-glue a panel of similar thickness, but you'll need to plane and joint the boards first, and a solid top will move slightly across its width with the seasons in a way the plywood won't.
Is this sturdy enough for typing and a monitor?
Yes — the stretcher between the two leg frames is what stops it racking front to back under normal use. Avoid leaning your full weight on one corner, which the frame isn't braced against.
Can I make it longer, for two monitors?
Up to about 1500mm the same build works. Beyond that the 18mm ply will flex under a monitor arm clamped mid-span, so add a third leg frame at the centre or step up to 25mm ply.
How do I stop the fixing screws coming through the top?
Measure the rail thickness plus how deep you want to bite into the ply, and test the screw length on an offcut first — the 50mm screws in the cut list leave a comfortable margin on an 18mm top.