A Ledged and Braced Softwood Garden Gate
- Hands on
- 230 min
- Start to finish
- 5 hours
- Level
- moderate
- Makes
- one 880mm wide, 1200mm tall garden gate, sized for a 900mm opening
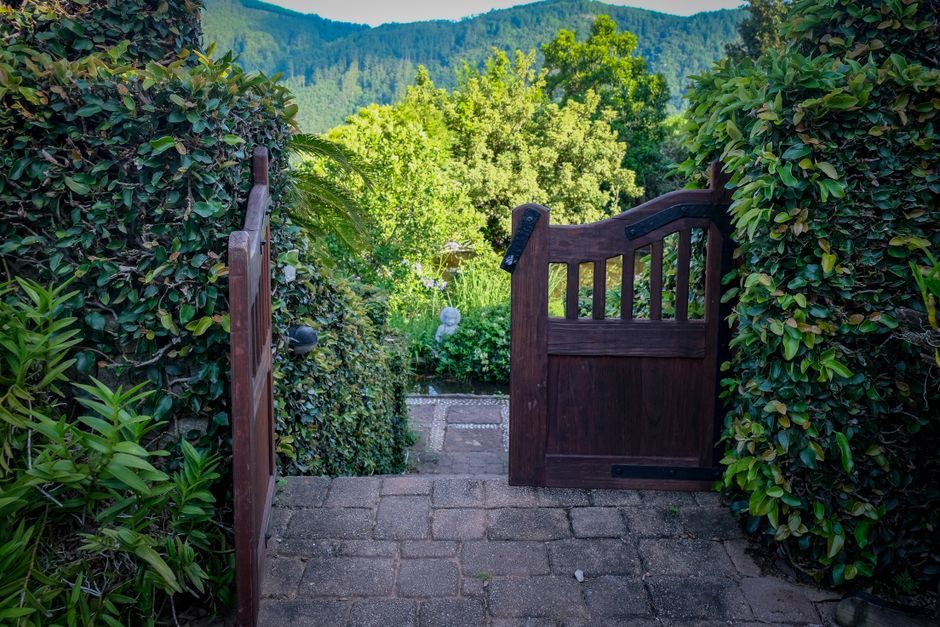
A ledged and braced gate is boards, three cross rails, and one diagonal brace carrying the weight of the unsupported corner back to the hinges. Get the brace direction right and the gate stays square for years; get it backwards and it drops within a season.
What you need
Step by step
-
Cut the eight boarding boards to 1200mm and lay them face-down across trestles, edges touching, to true up the overall 880mm width.
20 min -
Mark the three ledge positions square across all the boards with a combination square: 150mm down from the top, 150mm up from the bottom, and one centred between.
15 min -
Cut the three ledges to 840mm and lay them on the marked lines, set in 20mm from each outer edge so the hinge and latch boards have solid backing without the ledge ends showing.
15 min -
Clamp each ledge in place and screw through the boards into it with two countersunk screws per board, so nothing stands proud of the face.
40 min -
Offer the brace stock diagonally across the back, running from the bottom corner on the hinge side to the top corner on the latch side, and mark where it crosses each ledge.
15 min -
Cut the brace's angled ends to the marked lines and fit it tight against the ledges.
15 min -
Screw the brace to each ledge it crosses, checking the gate is square by measuring both corner-to-corner diagonals before driving the last screws.
20 min -
Plane the two outer edges of the boarding flush and square so the leaf is an even 880mm top to bottom.
20 min -
Fit the two tee-hinges to the hinge-side ledge ends, screwing into solid ledge timber rather than just the edge of a board.
20 min -
Treat or paint all faces of the gate, including the ledges, brace and edges, and let the first coat dry before hanging.
15 min -
With a helper, offer the gate to the posts, pack it level and square in the opening with scrap wedges, and screw the hinges to the hinge post.
25 min -
Fit the latch to the opposite post so it engages cleanly, then check the gate swings clear of the ground and path along its full arc.
20 min
Afterwards
Vacuum or brush off sawdust rather than letting it sit damp against the timber. Let a second coat of preservative or paint cure fully, including the end grain at the hinge and latch edges where rot starts first, before leaving the gate exposed to a wet spell. Recheck the hinge screws after a few weeks outdoors: timber swells and settles once it has taken on outdoor moisture, and screws can want a final turn.
Questions
Which way should the diagonal brace run?
Low at the hinge side, rising to the top at the latch side. Run it that way and the brace works in compression, carrying the unsupported latch corner's weight back to the hinges. Fit it the other way round and the gate drops within a season.
Can I build this wider or taller than 880 x 1200mm?
Yes, within reason. Keep the single brace running corner to corner for anything close to this size. Past about 1.2 square metres of boarding, one diagonal isn't enough to stop the leaf twisting, and you need a second brace forming an X.
Do I need to treat the gate before or after assembly?
Both. Treat the individual boards and battens before assembly so the back faces and ledge housings aren't left bare, then give the whole gate a full coat once built, before it goes anywhere near the post.
What if my opening isn't exactly 900mm?
Measure it and size the boarding to leave about 10mm total clearance, adjusting the board count or widths to suit. Keep the ledges 20mm in from whatever the finished boarding width turns out to be.