A French Cleat Tool Wall With Two Hanging Holders
- Hands on
- 330 min
- Start to finish
- 6.5 hours
- Level
- moderate
- Makes
- one 900 x 600mm cleat wall with two hanging holders
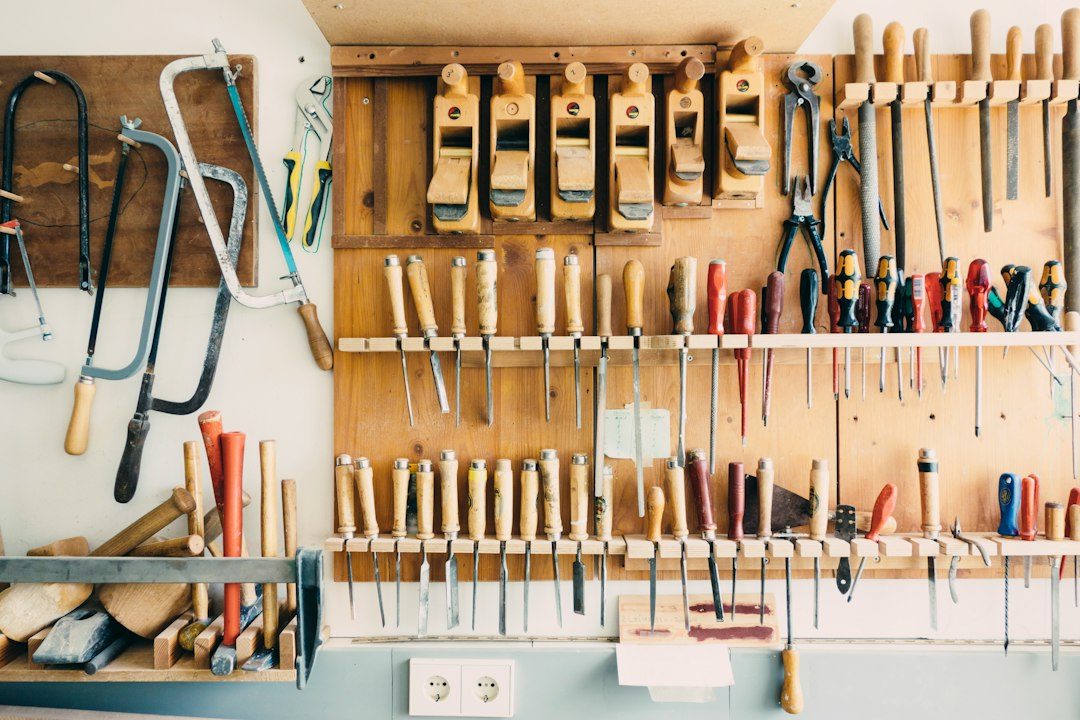
A fixed rack holds one thing in one place. A French cleat wall is a row of angled plywood strips screwed to the studs, and anything with a matching bevel on its back hangs off it, lifts off, and moves somewhere else the next time the shop gets rearranged. This covers the wall cleats themselves plus two holders to hang on them — a drilled strip for screwdrivers and chisels, and an open tray for loose hardware — enough to prove the system before you build more holders to suit what you actually own.
What you need
Step by step
-
Break the plywood sheet down with a circular saw and straightedge into four 900 x 150mm strips for the wall cleats, two 300 x 150mm strips for the holder cleats, and the panel pieces for both holders.
30 min -
Tilt the table saw blade to 45 degrees and rip each cleat strip down the middle, giving a matching pair of bevelled edges from every strip — one half becomes a wall cleat, the other a holder cleat.
45 min -
Find the wall studs and mark level lines 150mm apart over a 600mm height, checking each line against the first with a combination square.
20 min -
Fix the four wall cleats to the studs with the 70mm structural screws, bevelled edge up and the thick edge against the wall, countersinking every screw.
30 min -
Add a small screw or block near one end of each wall cleat as a stop, so a holder nudged sideways can't walk off the end of the row.
10 min -
Lay out two staggered rows of holes on the 300 x 150mm face board, sized to the handles of the screwdrivers and chisels that will hang there.
20 min -
Clamp the face board down and bore the holes with a spade or Forstner bit, backing it with scrap to stop the far face breaking out.
30 min -
Glue and screw a holder cleat to the back of the face board, bevel matching the wall cleats and flush with the top edge.
20 min -
Cut the hardware tray parts to size — a 300 x 140mm base, two 300 x 40mm sides and two 104 x 40mm ends — and glue and pin the box together square, checking it against the combination square.
40 min -
Fix the second holder cleat to the back top edge of the tray, in the same orientation as the first holder.
15 min -
Sand every piece to 220 grit and ease the sharp edges, then finish with danish oil or wipe-on poly if the plywood edges will show.
40 min -
Hang both holders on the wall cleats, load them, and check each one has seated fully down the bevel and sits flush before trusting it with tools.
15 min
Afterwards
Vacuum plywood dust rather than brushing it into the air, and let any finish dry fully before hanging loaded holders. Once the wall is loaded, check every screw is still tight after a week of use — repeated lifting of holders works screws loose faster than static shelving does. Confirm each holder seats flush and doesn't rock before trusting it with sharp tools.
Questions
Can I mount this if the studs don't line up with 150mm spacing?
Yes — shift each cleat up or down a little so it still crosses at least two studs, or fit a horizontal noggin between studs first and screw into that instead.
Do I need to glue the holders to the wall cleats?
No — the friction of the matching bevel is what makes the system work. Glue a holder on and you've built a fixed shelf, not a reconfigurable wall.
What if a holder rocks instead of sitting flush?
Check the bevel is a true 45 degrees on both the wall cleat and the holder cleat — a few degrees out and the two faces meet only at the top or bottom. Re-rip the error rather than packing it with tape.
How much weight will one cleat row carry?
Screwed into studs, plenty — the usual limit is the holder's own build, not the cleat. A loaded hand-tool holder is nowhere near what a cleat into solid framing can carry.