A Floating Oak Wine Bottle Shelf With Notched Cradles
- Hands on
- 265 min
- Start to finish
- 24 hours
- Level
- moderate
- Makes
- three floating shelves holding six bottles
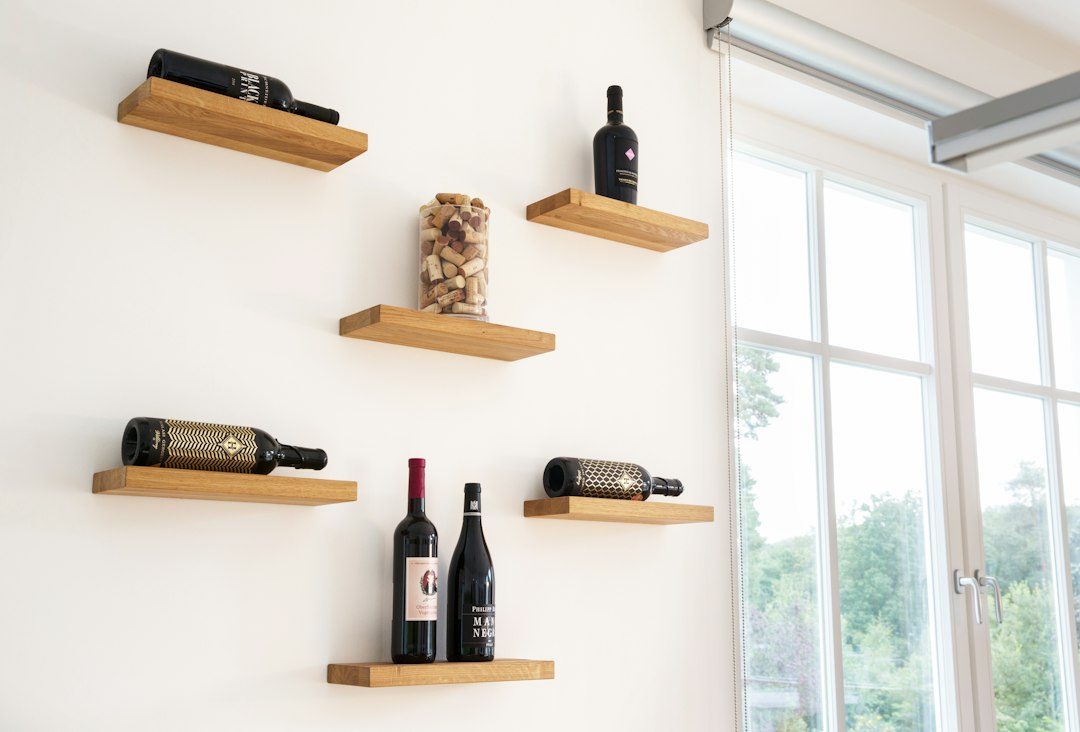
Wine bottles are an awkward shape to shelve: round, heavy for their size, and liable to roll. A floating shelf with the bottle neck dropped into a bored notch solves that without racks, pegs or anything visible holding the bottle in place — gravity and the notch do the work. Three shelves on hidden cleats hold six bottles between them, built from one length of oak and one length of batten.
What you need
Step by step
-
Crosscut the oak board into three 600mm lengths, squaring one end of each against a mitre gauge or crosscut sled on the table saw.
15 min -
Mark two hole centres along the front top edge of each shelf, 150mm in from each end, for the two bottle-neck notches.
10 min -
Clamp a scrap backer batten against the front edge at each mark, then clamp the shelf to the bench and bore through at each centre with a 32mm forstner bit at slow speed, so each hole opens into a clean half-round notch.
30 min -
Remove the backer and sand each notch smooth, wrapping abrasive around a dowel of similar diameter to reach the curve.
15 min -
Smooth all faces and edges of the three shelves with 120-grit then 180-grit abrasive, easing the sharp arrises.
30 min -
Rout a 20mm wide, 10mm deep housing across the back face of each shelf, 40mm down from the top edge, guided by a clamped straight-edge fence, to receive the wall cleat.
30 min -
Tilt the table saw blade to 45 degrees and bevel one long edge of the full-length batten in a single pass, then crosscut it into three 500mm cleats.
20 min -
Dry-fit each shelf onto its cleat and check the housing seats fully onto the bevel with no gap before finishing.
10 min -
Wipe down all parts to remove dust, then apply two coats of hardwax oil to the shelves and cleats, following the stated recoat time between coats.
40 min -
Leave the final coat to cure fully — check the tin for the stated time — before handling the parts further.
5 min -
Find and mark the wall studs across the hanging line, then mark a level line for each of the three shelves.
20 min -
Fix each wall cleat to the studs with 40mm screws, checking it sits level before fully tightening.
20 min -
Lower each shelf onto its cleat, then drive one 30mm screw up through the underside of the housing into the cleat so the shelf can't lift off as bottles are loaded and removed.
15 min -
Load two bottles per shelf, neck-first into the notches.
5 min
Afterwards
Vacuum the oak dust from boring and routing rather than sweeping it into the air, and wear a dust mask for those two steps — hardwood dust is a known carcinogen. Let the final coat of hardwax oil cure fully, per the tin's stated time, before hanging the shelves or loading bottles, and check that every cleat screw is still tight into its stud a week after hanging.
Questions
Do I need to hit a wall stud for every cleat?
Yes. Bottles concentrate real weight over a short cleat, so fix every one of the three wall cleats into timber studs with the 40mm screws. Where a stud doesn't line up, use a fixing rated for the full loaded weight, not plasterboard alone.
What if my bottles don't fit the 32mm notch?
Neck diameter varies a little between bottles. Bore a test hole in an offcut first and check it against the bottles you'll actually use before committing to all six.
Can a hole saw replace the forstner bit?
It can, but it leaves a rougher edge that needs more sanding to seat the bottle neck cleanly. A forstner bit run slow gives a smoother notch with less cleanup.