A Walnut and Maple Keepsake Box with a Striped Lid
- Hands on
- 250 min
- Start to finish
- 2 days
- Level
- moderate
- Makes
- one lidded box, about 250 x 180 x 83mm overall
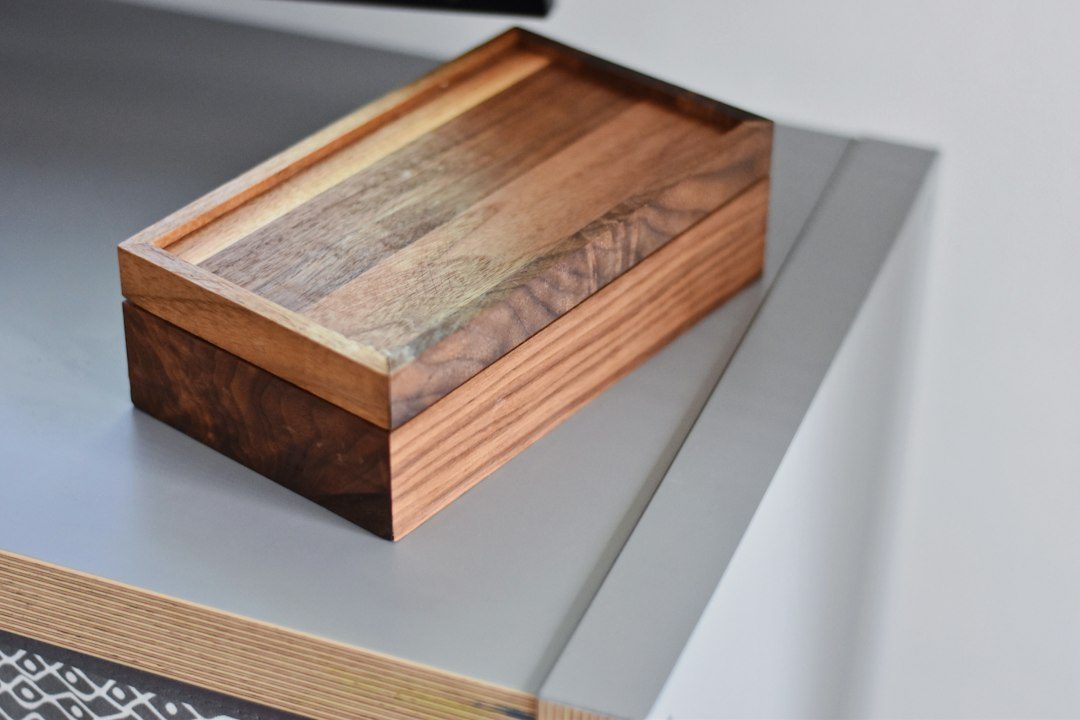
A small box earns its keep when the lid fits without rocking and the corners don't open up in a dry winter. This one uses overlapping corners reinforced with a glued dowel at each joint, a thin plywood base let into a groove so it can move independently of the sides, and a lift-off lid glued up from alternating strips of walnut and maple. Nothing here needs more than a single thickness of hardwood and jigs you likely already have.
What you need
Step by step
-
Cut the four walls to size on the table saw: two long sides 230 x 65 x 18mm and two short sides 124 x 65 x 18mm from the walnut board, checking each end is square with a combination square.
20 min -
Run a 4mm-wide, 4mm-deep groove for the base panel on the inside face of all four pieces, 8mm up from the bottom edge, using the router against a fence in two light passes rather than one deep one.
30 min -
Dry-fit the four walls so the long sides overlap the ends of the short sides, then measure the actual opening left by the groove and cut the plywood base panel to that size rather than to a fixed figure.
20 min -
Glue the four walls around the base panel, check the box is square by comparing the two diagonals, and leave it clamped for at least an hour.
20 min -
Once the glue has cured, drill a 6mm hole through each corner and glue in a dowel pin for extra strength, then trim and sand it flush.
30 min -
Rip alternating 28mm-wide strips from the walnut and maple stock for the lid, using a push stick for every pass since the strips are narrow.
20 min -
Edge-glue three walnut and three maple strips alternately into a panel oversized in both directions, clamp it flat, and leave it to cure overnight.
15 min -
Trim the glued-up panel to the finished lid size of 250 x 180mm, with the strips running the long way.
20 min -
Cut the four locating battens and glue them to the underside of the lid, positioned to drop inside the box opening with a hairline of clearance — check the fit before the glue goes off.
25 min -
Sand the whole project with a random orbit sander through the grits to 220, then ease every edge by hand so there is nothing sharp to find by touch.
30 min -
Apply the first coat of oil to every surface, including the inside of the box and the underside of the lid, then recoat and let it cure following the tin's schedule.
20 min
Afterwards
Vacuum rather than brush off sanding dust before oiling, since dust trapped in the corners shows as a dull patch under the finish. Let the first coat cure fully — check the tin, but allow at least 24 hours — before handling the piece, and give the lid a further day before daily use so the locating battens don't mark the inside faces while the oil is still soft.
Questions
Why reinforce the corners with a dowel instead of just gluing them?
A butt joint between end grain and long grain is weak on its own. A glued dowel through the joint adds real mechanical strength without needing a more complex joint cut on a box this small.
Can I use a different pair of woods?
Any two stable, dry timbers with enough colour contrast work well — oak and walnut, or ash and wenge — as long as both are the same thickness before you start.
The base panel doesn't fit the groove I cut — what went wrong?
Probably nothing. Groove width varies slightly with how the cutter is set up, so it's more reliable to cut a test groove in scrap, measure the actual gap, and size the base panel to that rather than to a number on paper.
Does the lid need finishing on the underside too?
Yes — finishing every face, including the underside of the lid and the inside of the box, keeps moisture movement balanced across the panel so it doesn't cup.