A Three-Tier Slatted Shoe Rack
- Hands on
- 220 min
- Start to finish
- 5 hours
- Level
- moderate
- Makes
- one three-tier rack, roughly 800mm wide, holding ten to twelve pairs of shoes
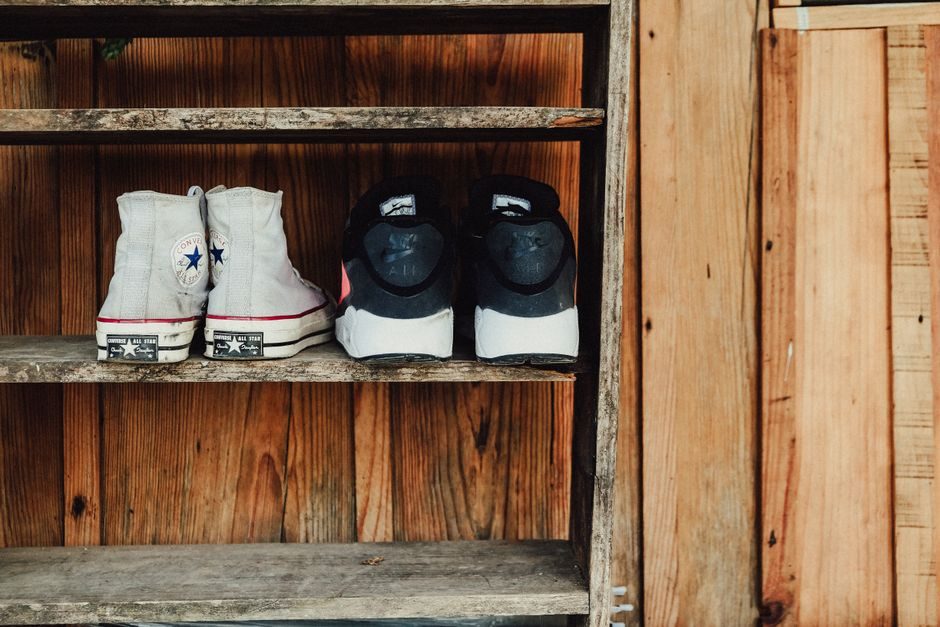
Shoes stored on a solid shelf sit in whatever they tracked in. Slats fix that: each shoe rests on three narrow strips with real gaps between them, so air gets under the sole and damp has somewhere to go instead of pooling. This build uses one plywood panel for the two end panels and pine strip for the cleats and slats — no dovetails, no glue-critical joints, just square crosscuts, pilot holes and screws.
What you need
Step by step
-
Rip the plywood panel into two 300mm-wide strips along its 1220mm length, using a circular saw guided by a clamped straightedge, then crosscut each strip to 650mm to give the two end panels.
30 min -
Cut six cleats to 300mm from the pine strip on the miter saw, using a stop block clamped to the fence so all six come out identical.
15 min -
Clamp the two end panels together face to face and mark the three cleat heights through both at once — 20mm, 230mm and 460mm from the base — so the two ends match exactly.
20 min -
Pilot-drill and countersink through each end panel into its cleats, then glue and screw the cleats on flush with the marked lines — one cleat per height on each end, six in total.
30 min -
Cut nine slats to 800mm from the 70 x 18mm pine strip on the miter saw, again against the stop block.
20 min -
Sand the slats and end panels with 120 then 180 grit on the random orbit sander, easing every sharp edge a shoe or a hand could catch on.
25 min -
Lay three slats across the bottom pair of cleats with a 45mm-wide offcut as a spacer between them, check them square to the ends with the combination square, then pilot-drill and screw each one down.
25 min -
Repeat for the middle and top shelves, using the same spacer so the gaps line up from shelf to shelf.
35 min -
Stand the rack up and check it for square by comparing the corner-to-corner diagonals; if it has crept, clamp a batten across the back corners until the glue sets.
10 min -
Apply a wipe-on oil or water-based varnish to all surfaces, including the slat undersides, and let it cure before loading the rack.
10 min
Afterwards
Vacuum sawdust out of the slat gaps before finishing — it collects there and shows through an oil finish afterwards. A wipe-on oil or water-based varnish is touch-dry in a few hours, but give it a full 24 hours before loading wet or muddy shoes, since damp footwear will dull a finish that hasn't fully cured. After that, wipe the slats down occasionally — grit tracked in on a sole will scratch them over time.
Questions
Why slats instead of a solid shelf?
Airflow. A solid shelf traps moisture against both the sole and the shelf; three narrow slats with gaps between them let a wet sole actually dry, and grit that comes off a shoe falls through instead of sitting on the surface.
Will plywood ends be strong enough?
Yes — the load on each shelf is spread across three screwed-down slats and two cleats, not carried by the panel alone. 18mm plywood is well within its limits here; solid pine of the same thickness works just as well if that's what you have.
Can I make it hold more pairs?
Add a fourth shelf by extending the end panels and adding another pair of cleats, keeping the same 230mm spacing between shelves so shoes still slide in and out easily. Going much tighter on spacing starts crowding taller shoes and boots.
What finish should I use near a door?
A wipe-on oil or a water-based varnish both handle occasional damp shoes fine. Avoid anything that stays tacky underfoot — you want it fully cured, not still curing, by the time shoes go back on it.