A Striped Maple and Walnut Cutting Board
- Hands on
- 210 min
- Start to finish
- 3 days
- Level
- moderate
- Makes
- one 13.5 x 18 x 3/4in edge-grain cutting board
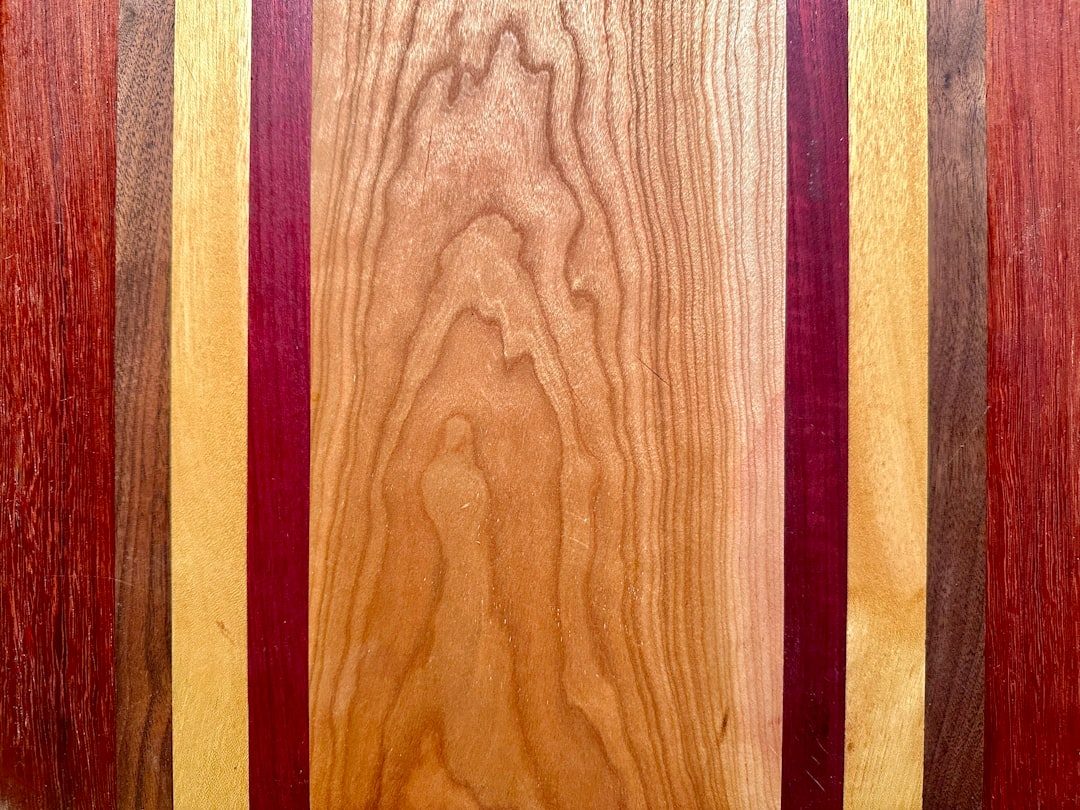
Nine strips of two contrasting hardwoods, ripped narrow and glued edge to edge into one panel, then flattened and oiled. This is the edge-grain style, not end-grain: no need to stand strips on end or own a jointer or planer. A table saw, clamps and a random orbit sander will get you there.
What you need
Step by step
-
Crosscut both boards square at 20in long, using the miter gauge with a stop block so both ends are true.
10 min -
Set the fence and rip the maple board into five strips 1.5in wide, and the walnut board into four strips 1.5in wide. Use a push stick for the last pass on each board once the offcut gets narrow.
25 min -
Dry-fit the nine strips on edge in an alternating maple-walnut sequence and check the pattern before any glue goes on.
10 min -
Glue one edge at a time with waterproof wood glue, standing the strips on edge, and clamp across two or three cauls to keep the panel flat as it comes together.
30 min -
Leave the panel clamped for a full 24 hours before handling it.
-
Scrape off the dried glue squeeze-out with a card scraper or the corner of a block plane.
15 min -
Flatten both faces with the random orbit sander, starting at 80 grit to true the joints, since there is no planer to do it in one pass.
45 min -
Square the ends and trim the panel to its final 18in length on the table saw, using the miter gauge with a stop block again.
15 min -
Ease the top and bottom edges all round with a block plane, then sandpaper, so the board is comfortable to pick up.
15 min -
Sand the whole board through the grits to 220, finishing with the grain on each strip.
20 min -
Flood the board with food-grade mineral oil, let it soak in for 20 minutes, then wipe off everything that has not been absorbed.
10 min -
Repeat the oil coat once a day for two more days, until the surface stops drinking it in.
10 min
Afterwards
Let the glue cure a full 24 hours under clamp pressure before machining it, and let each coat of mineral oil sit 20 minutes before wiping the excess — three coats over three days is normal for a board this dry. Wash by hand and stand it on edge to dry; never run it through a dishwasher or leave it soaking, both of which open the glue lines. Re-oil monthly, or whenever water stops beading on the surface, and check the joints for daylight before it goes into use.
Questions
Can I use construction lumber instead of hardwood?
No. Softwood marks too easily under a knife and stays damp longer, and pine's resin can taint food. Use a diffuse-porous hardwood such as maple, walnut, cherry or beech.
Do I need a jointer or planer to flatten the panel?
No. A panel this size can be trued with a block plane to knock down proud joints, then flattened with a random orbit sander working up through the grits. Slower than a planer, but entirely workable.
Is edge-grain or end-grain better?
End-grain, with the strips stood on their ends, is kinder to knife edges but a much harder glue-up for a first board. Edge-grain, as here, is nearly as durable and far more forgiving to build.
What glue should I use?
A waterproof, food-safe Type I glue such as Titebond III. Ordinary yellow woodworking glue is not rated for repeated water contact and will let go eventually.