A Slatted Pine Tool Crate
- Hands on
- 90 min
- Start to finish
- 2 hours
- Level
- easy
- Makes
- one crate, 480 × 200 × 180mm
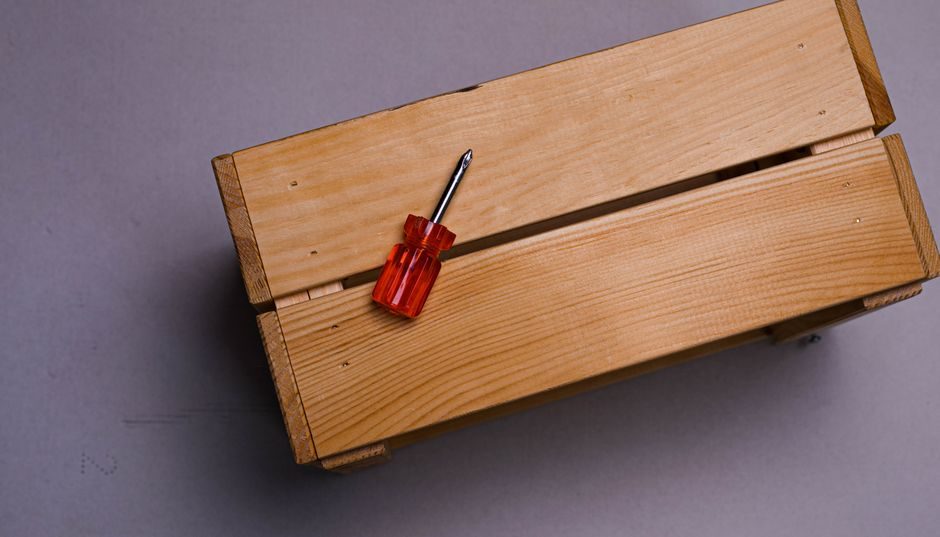
A crate like this earns its place in almost any room. In the workshop it sits next to the bench and holds the tools you reach for every session. In the house it carries magazines, bottles or firewood. The build is nothing but crosscuts and screws — no joinery, no complex setup — so it is a solid first project for someone who has never built a box before, and a fast afternoon job for everyone else. The slats leave a gap for airflow and visibility without sacrificing rigidity, and the solid end panels give the crate its shape and something to screw into.
What you need
Step by step
-
Cut the four slats to 480mm from the 70mm-wide board, and the two end panels to 180mm from the 200mm-wide board. Mark each cut line with a marking knife or sharp pencil before sawing — it keeps the blade on the line and reduces tear-out on the face side.
15 min -
On each end panel, mark two lines 18mm in from each short (180mm) edge: these show where the slats will land. Pre-drill two 3mm pilot holes on each line, one near the top and one near the bottom, about 15mm in from the long edge of the slat. Do this on both end panels before any assembly.
10 min -
Stand both end panels upright on a flat surface, 444mm apart measured face to face. This gives a finished external length of 480mm once the slats overlap the ends. Clamp them against a batten screwed to the bench, or wedge them between bench dogs, so they cannot tip while you work.
5 min -
Glue and screw the lower slat on each long face first. Run a thin bead of glue along the face of each end panel at the lower marked line, press the slat into position flush with the bottom of the end panels, and drive the screws. Set the slat flush with the bottom edge so it will support the base later.
15 min -
Check the frame for square before the glue sets: measure diagonally corner to corner in both directions. If the measurements differ, push the long corner gently until they match, then let the lower slats hold that shape while you add the upper pair.
5 min -
Fit the upper slats on both long faces, flush with the top of the end panels. The gap between upper and lower slat will be 40mm. Glue and screw as before. Leave the assembly for 20 minutes to let the glue begin to grip before handling.
15 min -
Slide the 444 × 164mm plywood base into the crate from the open top, resting it on the lower pair of slats. It does not need to be glued — a loose base makes the crate easier to clean. If it rattles, a few dabs of silicone under the corners will quiet it without making it permanent.
5 min -
Sand all outer faces with 120-grit, then 180-grit, paying particular attention to the top edges of the slats and the corners of the end panels where splinters form. Finish with Danish oil, a hard wax, or leave it bare — pine patinas quickly and honestly.
20 min
Afterwards
Vacuum the crate out rather than tipping it upside down — fine dust shakes loose onto everything. If you applied oil or wax, allow 24 hours before loading tools; trapped solvent under a handle leaves a white ring in the finish. Check the screws near the ends of the slats after the first week of use — pine can settle slightly and one or two may want a quarter-turn. A yearly wipe of Danish oil keeps it from drying out if it lives in a heated room.
Questions
Can I cut all the pieces with a handsaw?
Yes. Clamp the work firmly, use a try square to start the cut square to the face, and take slow strokes. Small gaps at the joints close when the screw pulls the parts together. The miter saw is faster but not necessary.
What if I cannot find 200mm-wide board for the end panels?
Two pieces of 95mm PAR pine glued edge to edge give 190mm, which works fine. Clamp them flat overnight before cutting the panels. Alternatively, build each end panel from three pieces of the same 70mm-wide stock as the slats — three pieces gives 210mm, and you can trim the width or accept the slight overhang.
How much weight will it carry?
With a 9mm ply base and screws into solid end panels, plenty for hand tools, bottles or a stack of books. It is not designed for heavy bar stock or bricks — for that, use 12mm ply for the base and add a second row of screws into each end panel.
Does it need finishing at all?
Not in a workshop. Bare pine yellows and scuffs and gains character quickly, and a tool crate usually earns its marks. If it is going in the house, one coat of Danish oil on the outside is enough. Avoid polyurethane on the inside — it chips under tools and the flakes are unpleasant.