A Slatted Cedar Planter Box
- Hands on
- 165 min
- Start to finish
- 3.8 hours
- Level
- easy
- Makes
- one planter box, roughly 600 x 400 x 380mm
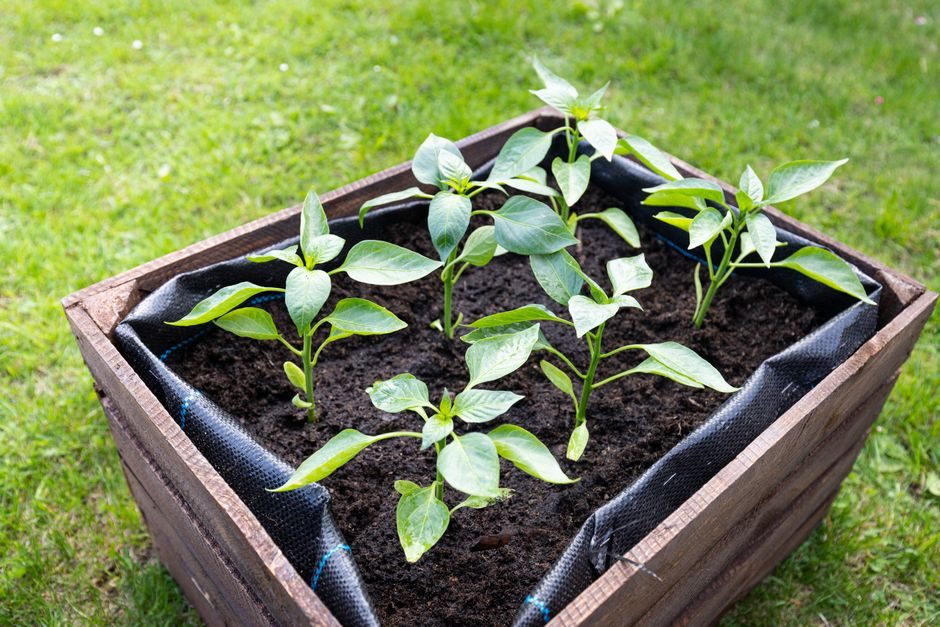
Four corner posts, a ring of slats, and a slatted floor: a raised planter that stands clear of standing water at the base instead of rotting from the bottom up. Built entirely from the boards a merchant sells for decking, so there is nothing to special-order. A landscape fabric liner keeps soil off the inside faces without blocking the drainage gaps, which is what actually kills a planter box early — not the species of wood.
What you need
Step by step
-
Mark and cut the four corner posts to 380mm and the two base bearers to 336mm from the post stock, squaring every cut before you make it.
15 min -
Cut the side slats to length from the deck boards: eight at 600mm for the long sides and eight at 400mm for the ends.
30 min -
Cut three floor slats to 536mm from the same deck board stock.
10 min -
Build the two end panels first: screw the four 400mm slats across a pair of posts, evenly spaced top to bottom, posts flush with the slat ends.
20 min -
Join the end panels with the 600mm slats front and back, checking the box is square by measuring both diagonals before you drive the screws home.
25 min -
Fix the two bearers inside the box near the bottom, screwed through the posts, to carry the floor slats.
15 min -
Lay and fix the three floor slats across the bearers, spaced evenly so water can drain between them.
15 min -
Ease all the sharp edges with sandpaper, and pilot-drill close to any board ends so the cedar does not split when you drive the screws.
10 min -
Line the inside with landscape fabric, stapled just under the top edge, and slit the fabric over the floor gaps so the box still drains.
10 min -
Optional: brush on one coat of exterior decking oil and let it dry to the touch before you move the box or add soil.
15 min
Afterwards
Vacuum or brush off the cedar dust rather than letting it settle in the shop. If you oiled it, keep the box empty and dry for the full cure time on the tin — usually 24 hours — before you load it with wet soil. Check the drainage gaps aren't silting up once it's planted, since a blocked floor is what rots a liner-lined box fastest.
Questions
What wood should I use?
Cedar or another naturally rot-resistant species is worth the extra cost outdoors. Plain pine will need treating and will still have a shorter life; avoid anything chemically treated for ground contact if you're growing edibles close to the treated faces.
Does it need drainage holes drilled in the bottom?
No — the gaps between the floor slats do the draining. Just keep them clear of compacted soil or roots so water keeps moving through.
Do I have to line it?
A liner keeps soil off the inside faces and slows rot, but slit or perforate the base of it. An unslit liner holds water like a bucket, which drowns the roots and rots the wood faster than leaving it bare.
Can I build it bigger?
Yes, but past about 1.2m long unsupported, add a middle post on each long side. Otherwise the slats bow outward once they're carrying wet soil.