A Simple Pine Hall Bench
- Hands on
- 180 min
- Start to finish
- 4 hours
- Level
- easy
- Makes
- one 1200mm × 240mm bench, 450mm high
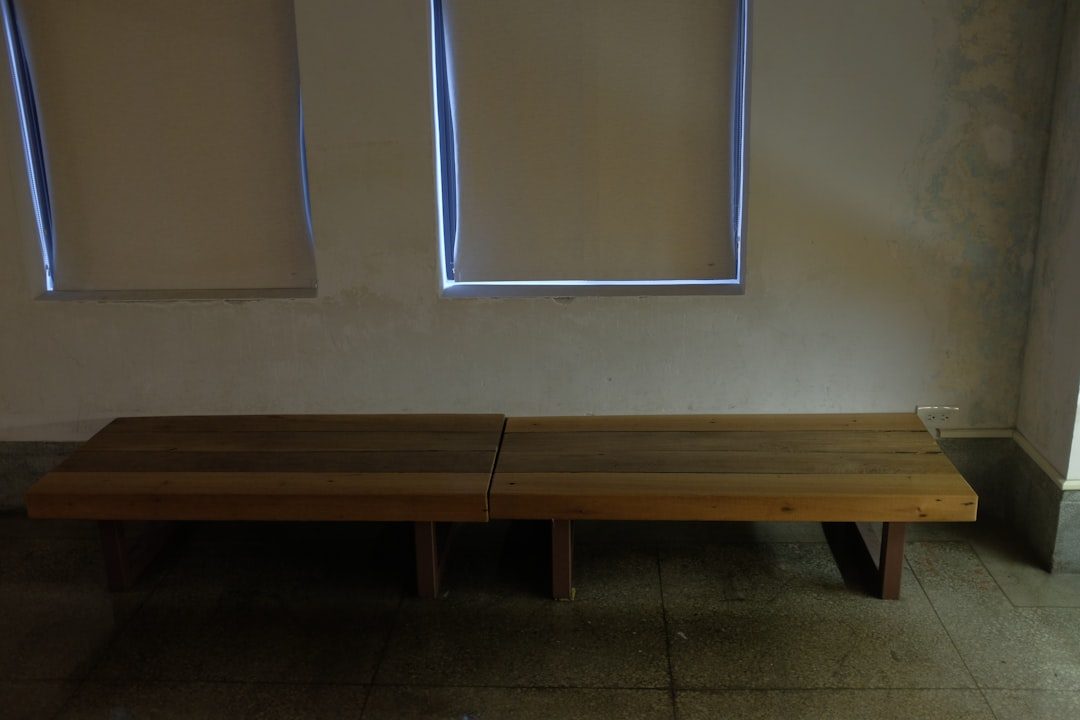
A bench is the project most workshops need first and get to last. This one uses three standard-dimension boards and a box of screws: one wide seat plank, four square legs, two rails to hold them in line. Construction is all cross-grain screwing — no mortises, no dowels, no specialist jigs — and the whole frame goes together in an afternoon. Height is 450mm, which sits comfortably for adults and doubles as a low work platform when you need one.
What you need
Step by step
-
Cut all pieces to length: seat to 1200mm, four legs at 412mm each from the post stock, two side rails at 950mm from the 90×38mm board. Label each piece with pencil so you do not confuse the leg ends.
30 min -
Mark leg positions on the seat underside: square pencil lines across at 50mm in from each end, centred on the 240mm width. These give you the footprint of each leg.
10 min -
Drill and countersink two pilot holes in the outer face of each leg, 25mm down from the top, spaced 40mm apart across the 75mm face. These take the screws that fix each rail end to its legs.
15 min -
Assemble the two side frames: apply a thin bead of PVA to each rail end, butt the rail between two legs with the rail top flush with the leg tops, and drive two 75mm screws per joint through the outer leg face into the rail end grain. Eight screws across four joints.
25 min -
Check each frame for square by measuring corner-to-corner diagonals — they should match within 1mm. Adjust before the glue grips, then lay both frames flat on the bench top. Leave them for at least 30 minutes before standing them up.
35 min -
Stand both frames upright on a flat floor, parallel to each other with the rails facing inward. Lay the seat plank across on top, aligning the pencil marks with the leg centrelines. Clamp the seat down temporarily.
15 min -
Drill two countersunk pilot holes through the seat into the top of each leg — eight holes, eight screws. Apply a spot of PVA to each leg top, then drive the screws flush with the seat surface.
20 min -
Set the bench on a known-flat floor and check for rock. Sand or plane the base of any leg that lifts until all four sit firmly.
15 min -
Sand all surfaces — 80-grit to remove pencil marks and mill marks, 120-grit over everything, then 180-grit on the seat top. Vacuum the dust and apply a coat of hard-wax oil or water-based floor lacquer to all surfaces.
35 min
Afterwards
Pine sanding dust is a respiratory irritant — wear a dust mask during sanding and vacuum the bench and the floor rather than sweeping. Leave the finish to cure for at least 24 hours before using the bench; hard-wax oil and floor lacquers need that time to harden fully. After a month in the room, check that all screws are still tight: pine moves as it acclimates, and joints can work slightly loose.
Questions
My miter saw only reaches 200mm — can I still crosscut the 240mm seat plank?
Yes. Cut from one face as far as the saw reaches, flip the board, and complete the cut from the other side. Keep the fence square on both passes and the two kerfs will meet cleanly in the middle.
The finished bench rocks diagonally. What is wrong?
One leg is shorter, or a rail joint dried slightly out of square. Set the bench on a known-flat surface and identify which leg lifts. Sand or plane the base of that leg until all four contact the floor — removing material from one leg is faster and safer than reopening a glued joint.
Can I make the seat wider?
Edge-join a second plank of the same thickness alongside the first: apply glue, clamp the edges together face-down on a flat surface, and let it cure before cutting to length. No biscuits or dowels are needed for a bench seat at this size.
What finish holds up in a hallway with wet boots?
Hard-wax oil or a water-based floor lacquer. Both cure to a surface you can wipe clean. Standard furniture wax is too soft for a piece that will take knocks and mud.