A Pine Box with a Hinged Lid
- Hands on
- 195 min
- Start to finish
- 12 hours
- Level
- moderate
- Makes
- one 300 x 200mm pine box
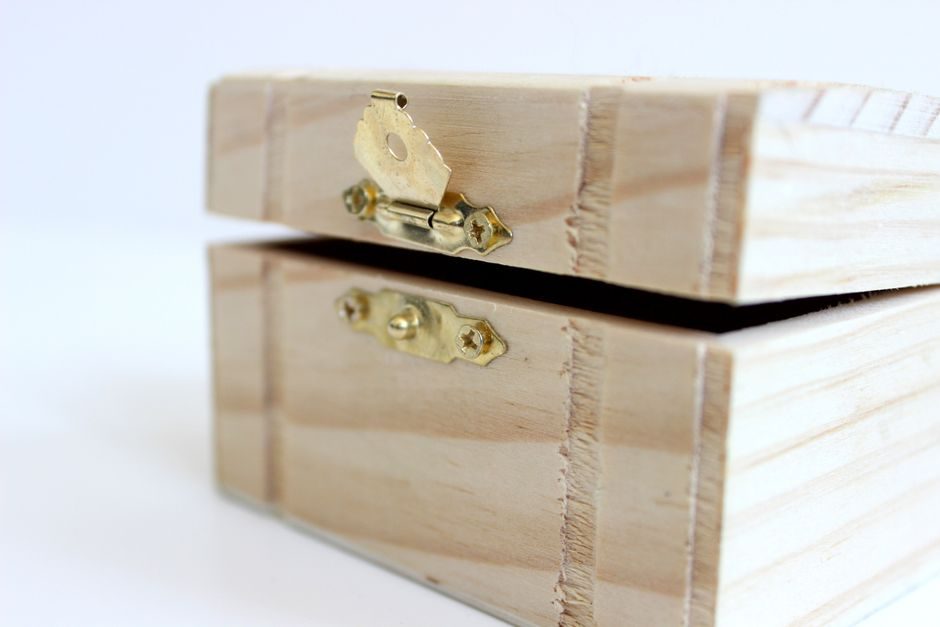
Butt-jointed pine held with glue and pins is not furniture-grade joinery — but for a box that stores things and looks right on a shelf, it is sufficient. The lid and body are built as separate assemblies and hinged together at the end, so the project is two smaller glue-ups with a bit of fitting work. The hardest part is the hinge mortises, which call for a sharp chisel and patience rather than unusual skill. Get those right and the lid will sit flush and open cleanly.
What you need
Step by step
-
Crosscut the four body panels from the 100 x 19 stock: two pieces at 300mm for the front and back, and two at 162mm for the ends. A miter saw handles these quickly; a hand saw with a bench hook is equally accurate for four short crosscuts.
15 min -
Dry-fit the body without glue. Use masking tape as a temporary clamp and check both diagonals — they should measure equal. If they differ by more than 2mm, identify and trim the piece that is long before gluing.
10 min -
Glue and pin the body. Apply PVA to one face of an end panel, press the front piece against it, and drive three 30mm panel pins through the front face into the end grain. Repeat for the second end, then close with the back piece. Measure diagonals again and push the assembly square by hand before the glue begins to set.
20 min -
Cut the plywood base to 262mm x 162mm. Run a thin bead of glue around the inside bottom edge of the body, drop the base in flush with the bottom, and pin it from underneath into the sides with 30mm pins every 80mm.
15 min -
Edge-glue the two lid panels. Apply glue to the mating long edges, press together, and clamp firmly. Rest the assembly on a flat surface — the workbench or a spare sheet of ply — to keep it flat. Wipe off squeeze-out and leave for at least four hours, overnight if you can.
10 min -
Once the glue is fully cured, crosscut the lid to exactly 300mm, trimming equally from each end to centre the glue line. If the face is not flat, scrape or sand it flat before fitting the cleats.
15 min -
Crosscut two locating cleats from the 9 x 9 strip, each 260mm long. Glue one cleat to the underside of the lid 20mm in from the front long edge, and the second 20mm in from the back long edge, both running the full 260mm length. The cleats drop inside the body and stop the lid shifting sideways. Clamp until dry.
15 min -
Sand the box and lid through 80, 120, and 180 grit. Round every outside corner and edge with a few passes of 120 grit to remove sharpness. Knock any proud pin heads below the surface with a nail punch.
30 min -
Mark the hinge positions on the top edge of the back body panel: 50mm in from each end. Score the hinge leaf outline with a marking knife, then chisel the recess to the depth of one leaf — work in from the scored line and take thin shavings. Fit the hinges to the body first, then rest the lid in position with the cleats dropped inside, and mark and chisel the corresponding recesses on the back edge of the lid.
35 min -
Fit the box catch: close the lid, mark the catch position centred on the front edge, drill pilot holes, and screw in place. The lid should close with a positive click and open without lifting the front of the box.
15 min -
Apply two coats of Danish oil or finishing wax. Work the finish into the end grain at each corner. Allow the first coat to dry fully and cut back lightly with 240 grit before applying the second.
20 min
Afterwards
Vacuum all dust from inside the box before finishing. Danish oil needs at least 24 hours per coat at 20°C to cure — close the lid only after the finish has cured or it will stick. Once the hinges are fitted, check that the lid opens past 90 degrees without the box lifting; if the lid falls back and loads the hinge screws in the end grain of the back panel, fit a short brass chain or lid stay to protect them.
Questions
My glued-up lid has bowed slightly — the two panels cupped. How do I flatten it?
A hand plane or cabinet scraper takes the high side down without removing much material. Work diagonally across the glue line. If you are using sandpaper, clamp the lid flat between two pieces of ply while sanding so the paper follows the flat surface rather than the bow.
The lid does not sit flush after fitting the hinges — there is a gap on one side.
Uneven hinge recesses are the usual cause. Identify which hinge is seated too deep by closing the lid and looking at where the gap opens. Pack the low side by slipping a strip of thin card under the hinge leaf before re-screwing — a playing card is roughly 0.3mm, and one or two thicknesses is usually enough.
Can I use screws instead of panel pins for the body corners?
Screws are stronger. Use 35mm No. 6 countersunk wood screws, pre-drilling a clearance hole through the outer piece and a pilot hole into the end grain. Two screws per corner is enough. Countersink the heads flush.
What size can I scale this to?
The same method works from a small trinket box up to something roughly 600mm long. Above that, use pocket screws or dowels at the corners, and add a centre support under the base to stop the plywood flexing under load. Keep the body height less than the box width or it starts to look top-heavy.