A Pine and Plywood Garden Trug
- Hands on
- 210 min
- Start to finish
- 5 hours
- Level
- easy
- Makes
- one 500mm garden trug
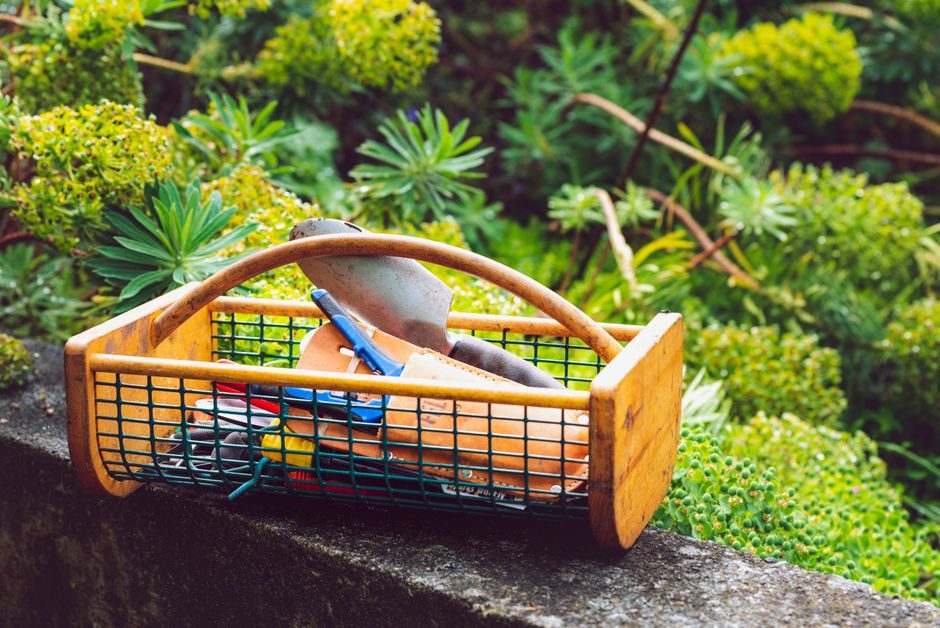
A trug is a shallow open box with two shaped ends you can get a grip on. The traditional version is built from steamed and cleft strips bent around formers, which is out of reach for most home shops. This one gets the same shape and the same rain-shedding lap joints from straight softwood slats screwed to plywood ends: stiff enough for the weight of a trug's contents, and buildable with a saw, a drill and a coping saw.
What you need
Step by step
-
Mark and cut the two end panels to 280 x 240mm from the plywood offcut.
15 min -
On each panel, draw a handle slot 130 x 35mm, centred, with its top edge 30mm down from the panel's top. Round the panel's top two corners to a gentle curve.
15 min -
Drill a 12mm starter hole at each end of the handle slot, then cut between them with a coping saw or jigsaw to open the slot. Clamp the panel to the bench rather than holding it while you cut.
20 min -
Round over the edges of the handle slot and the panel's top curve with a rasp and sandpaper so it is comfortable to grip.
15 min -
Cut the softwood into nine 500mm slats: six for the sides and three for the base. Clamp a stop block to the mitre saw fence set to 500mm so every slat comes off the same length without re-measuring.
25 min -
Stand the two end panels on their bottom edges, 500mm apart. Pre-drill and countersink, then screw the first side slat's ends flush with the base line into each panel's edge, gluing as you go.
20 min -
Add the remaining two slats to each side, overlapping the slat below by 20mm like a weatherboard so rain sheds outward. Glue and screw through each overlap into the panel edge.
35 min -
Trim any slat ends that sit proud of the end panels flush with a block plane.
15 min -
Fit the three base slats across the bottom edges of the end panels, leaving a 5mm gap between each for drainage.
20 min -
Let the glue cure fully, then sand all surfaces and edges to 120 grit, breaking every sharp edge you can reach by hand.
20 min -
Apply the exterior oil finish following the can's recoat times, with a light sand between coats.
20 min
Afterwards
Let the glue cure for 24 hours before loading the trug with anything heavy, and let the final oil coat cure fully, per the can, before leaving it outside. Wipe out wet soil or plant matter after use rather than leaving it to sit on the base slats, and check the overlap joints each spring for cracked glue lines or screws that have worked loose. Recoat with oil once a year, or sooner if the wood starts to grey.
Questions
Can I use a jigsaw instead of a coping saw for the handle slot?
Yes, a jigsaw with a narrow blade does it faster. Clamp the panel down either way so the blade cannot walk sideways into the hand holding the work.
Will pine last outside without rotting?
Not indefinitely without upkeep. An exterior oil finish recoated once a year will get several years out of it. For longer life with less maintenance, build the slats and panels from cedar or another naturally rot-resistant softwood instead.
Why leave gaps in the base instead of a solid floor?
Wet produce, cut flowers and pulled weeds all sweat. The gaps let water and soil drain through instead of sitting against the base slats and rotting them from the inside.