A Floating Shelf on a Hidden Cleat
- Hands on
- 190 min
- Start to finish
- 4.8 hours
- Level
- moderate
- Makes
- one 800 x 220 x 70mm floating shelf
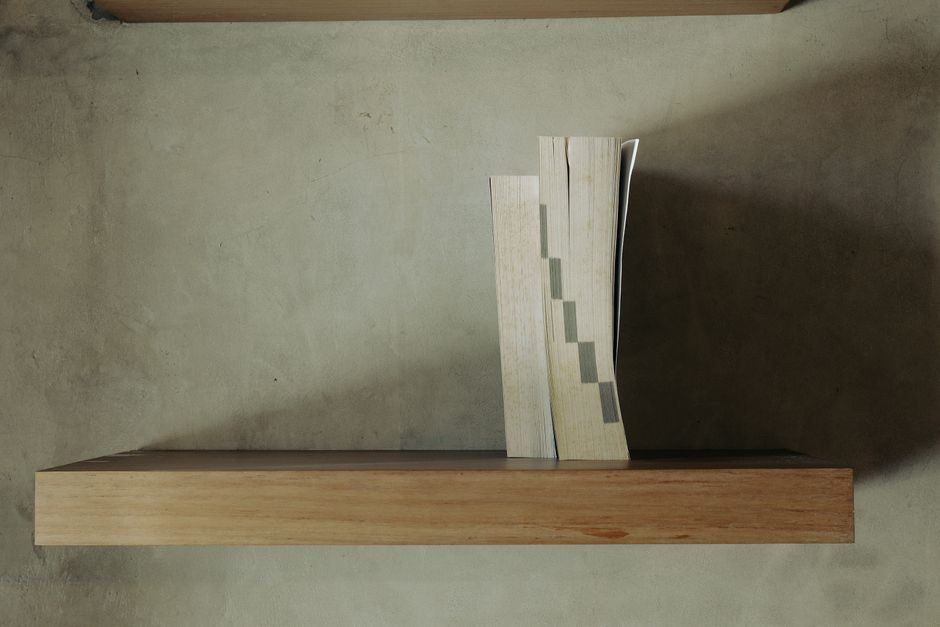
This shelf gets its thickness, and its strength, from being a hollow box rather than a solid board, so it reads as substantial without the weight or cost of solid timber. What hides the fixings is a cleat: a length of softwood ripped through at 45 degrees, half screwed to the wall and half fixed inside the shelf, so the box simply drops on and locks itself level. Build it from a plywood offcut with a solid lipping wrapped around the edges that show.
What you need
Step by step
-
Cut the top and bottom panels from the 18mm plywood to 800 x 198mm.
15 min -
From the same sheet, cut the back rail (800 x 34mm) and two internal webs (198 x 34mm).
15 min -
Glue and screw the back rail and webs between the top and bottom panels with the 40mm screws, flush at the back and square at the corners, then clamp until the glue sets.
30 min -
Rip the 70 x 45mm cleat stock in half along its length with the blade tilted to 45 degrees, giving two matching bevelled lengths.
10 min -
Screw one cleat half inside the shelf, hard against the back rail, bevel facing down and out, using the 40mm screws.
10 min -
Find the wall studs, mark a level line, and screw the second cleat half to the studs with the 75mm structural screws, bevel matching the first.
20 min -
Cut the lipping from the 70 x 22mm stock, mitring the two front corners at 45 degrees so it wraps the front edge and both ends in one piece.
25 min -
Glue and pin the lipping to the front and end edges with the brad nails, keeping it flush top and bottom.
20 min -
Once the glue has cured, sand the lipping flush with the plywood faces and ease every edge.
20 min -
Apply the hardwax oil or Danish oil to all faces, following the maker's recoat times.
15 min -
Once the final coat has cured, lower the shelf onto the wall cleat and check it's level — it should lock down with no play.
10 min
Afterwards
Vacuum the sanding dust rather than sweeping it — fine ply and pine dust drifts, and hardwood dust is a known carcinogen worth not breathing. Wipe the box down before oiling. Let the finish cure fully per the tin, commonly 24 hours a coat, before hanging the shelf, and don't load it until the last coat has hardened, not just gone touch-dry. Check the wall cleat is still snug and dead level before loading anything heavy.
Questions
How much weight will this hold?
Screwed into at least two studs with the 75mm structural screws, easily enough for books or plants across the full 800mm length. Into plasterboard alone, don't trust it with anything you'd mind losing.
Can I make it longer or deeper than this?
Longer is fine as long as the cleat lands on at least two studs. Go much past 220mm deep and the leverage on the cleat grows, so add a third internal web for support.
Do I need birch-faced plywood specifically?
Any void-free 18mm ply works structurally. Birch-faced just sands and finishes cleaner where the lipping meets it.
What if I don't have a table saw for the cleat bevel?
A circular saw with a clamped-down cutting guide, set to 45 degrees, will rip the bevel just as well — take it slow and let the saw do the work.